|
original post 11/5/20
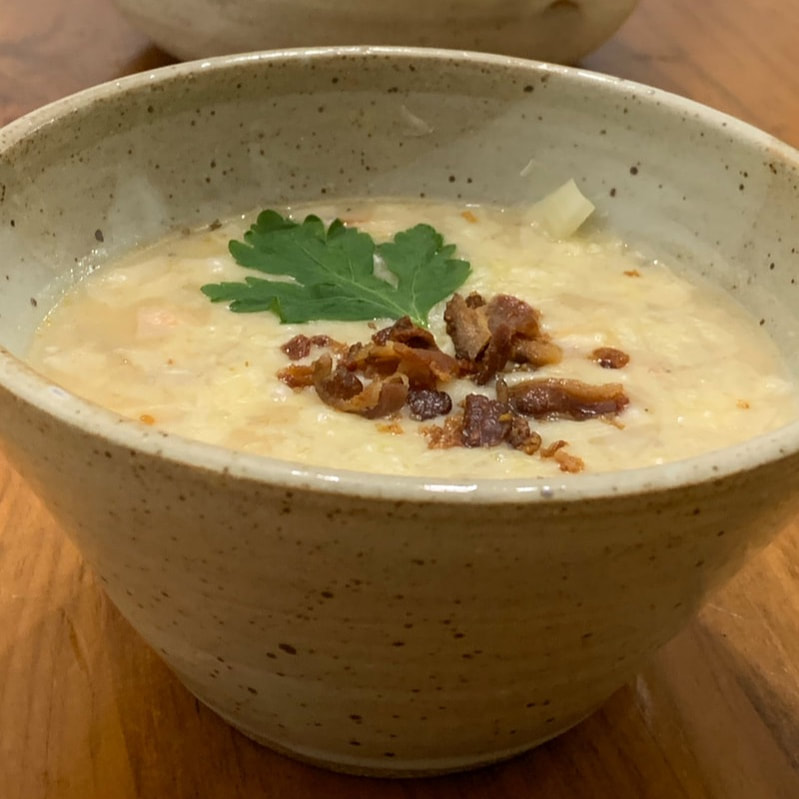
Bowl: Handmade by SageEdenPottery in OKC
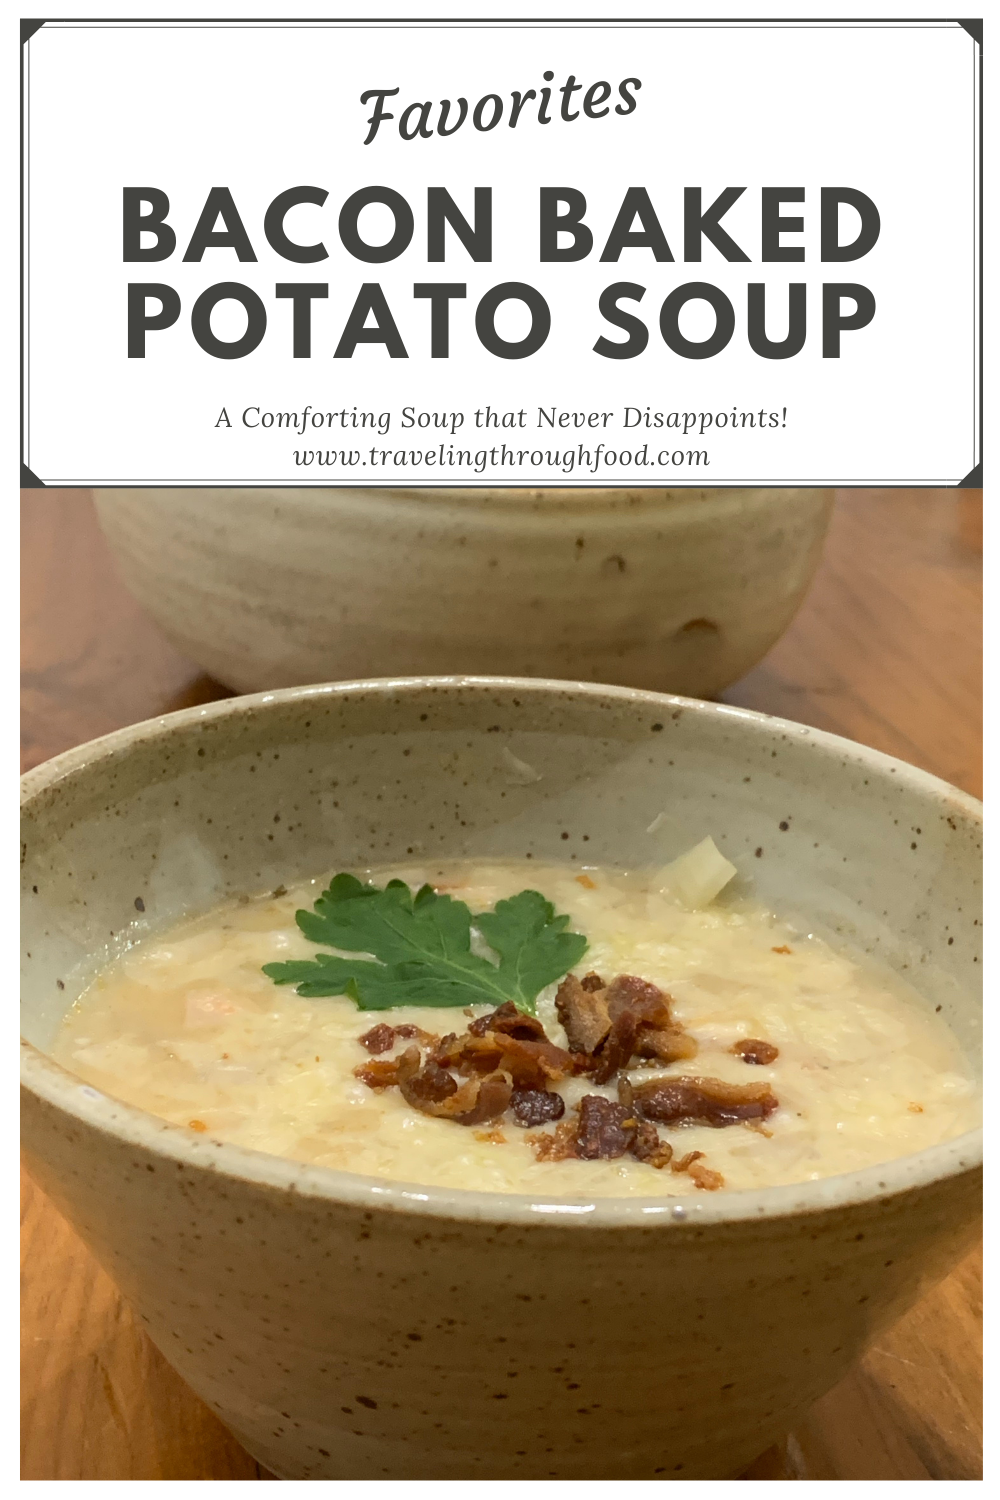
Bacon Baked Potato Soup Recipe is filed under:
Soup • Family Recipes • Recipes • Bacon • Potato • Lunch • Dinner • North America A crowd favorite baked potato soup from scratch with all the comforting goodness you want on a fall or winter's day. If you want to know what to do with leftover baked potatoes, this is a great way to use up leftover baked potatoes! Or maybe you just bought too many potatoes? This soup is an easy way to use some of them up! Contribute A Recipe You Love So We Can Travel Through Food Together!
Want to contribute to this giant international family cookbook?
Share your family recipes or go-to recipes here!
|
|
|
Tried This Recipe?
Send us a photo, tag us @travelingthroughfoodtogether, or leave a comment below! We'd love to try your favorite recipes! Submit a recipe or food story to Traveling Through Food |
Easy Bacon Baked Potato Soup Recipe is filed under:
Soup • Family Recipes • Recipes • Bacon • Potato • Lunch • Dinner • North America
Soup • Family Recipes • Recipes • Bacon • Potato • Lunch • Dinner • North America
Pin & Share This Post:
0 Comments
originally post date 11/12/20
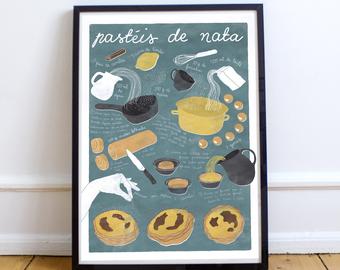
In the Summer of 2018 we had a special opportunity to visit friends and get a taste of a wonderful place - Portugal! No list of "top foods to try in Portugal" is complete without the glorious little Portuguese custard tart known as Pastel de Nata!
Our first Pastéis de Nata came from Portela Cafe on Rua da Graça in Lisbon. It was a short stroll from our airbnb and we wanted to get our Portugal trip off to a good start with cafe and pastries for breakfast! ;)
From there we enjoyed Pastéis de Nata just about everywhere we went - Lisbon, up the Silver Coast, Porto, and even the airport lounge on the way home.
So what exactly is a Pastel de Nata?
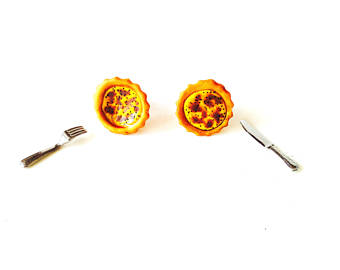
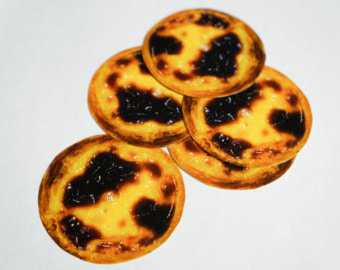
Pastéis de Nata are a delightful little treat consisting of a flaky crust filled with custard. Most people enjoy their Pastéis de Nata with a sprinkle of powdered sugar and cinnamon on top! Some people prefer just cinnamon or just powdered sugar while others enjoy a Pastel de Nata as is!
How do you eat a Pastel de Nata?
Easy. Just take a bite for optimal enjoyment of the creamy custard together with the crispy crust. There is a segment of society, however, who prefer to use a spoon to eat the custard first and then eat the crust. Posh. ;p No matter how you eat your pastel de nata, it's going to be delicious!
History of Pastel de Nata
The popular origin story of the Pastel de Nata goes back over 300 years ago to Jerónimos Monastery in Belém. The nuns and monks used egg whites to starch the clothing, leaving a huge amount of egg yolks needing used up. To prevent waste and simultaneously generate income to support the monetary, the custard tart was born. The recipe was later sold when the monastery closed in 1833. Today you can try the original Portuguese custard tart at Pastéis de Belém.
Wait. I'm Confused. Is it Pastéis de Nata, Pastel de Nata or Pastéis de Belém?
Pastel de Nata - one Portuguese custard tart
Pastéis de Nata - multiple Portuguese custard tarts
Pastéis de Belém - Portuguese custard tarts made from the original secret recipe.
The original Pastéis de Belém is only available at Fábrica Pastéis de Belém
It makes me think of how some people say Kleenex any time they mean "tissue" whether it's Kleenex brand or not. Technically, a Kleenex is a tissue, but all tissues are not Kleenex. So all Pastéis de Belém are Pastéis de Nata (albiet branded with the perception of superiority), but not all Pastéis de Nata are Pastéis de Belém. Hope I got that right and hope it makes more sense now!

One last Pastel de Nata in Porto, Portugal
Flash Forward to December 2018 and we were already in withdrawal! On a weekend trip to Toronto we looked up Carousel Bakery in St. Lawrence Market so we could relieve the custard tart experience
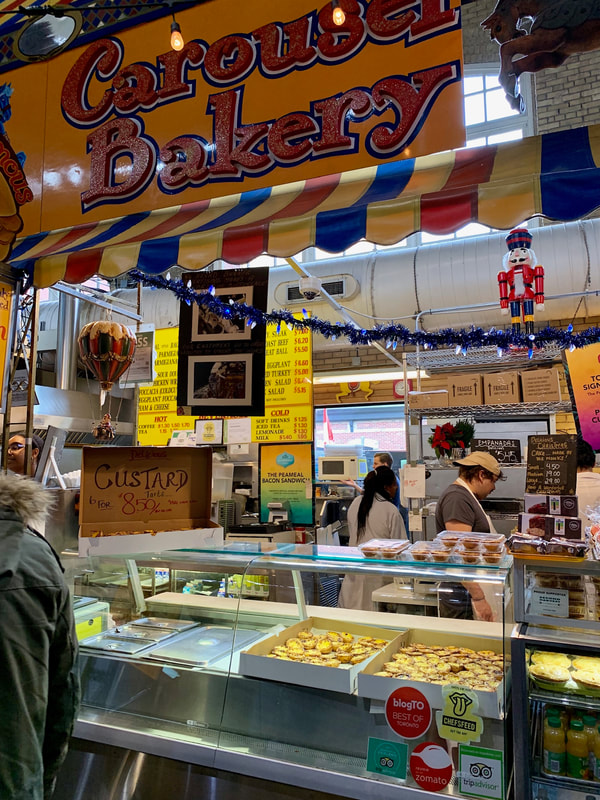
Pastéis de Nata from Carousel Bakery in St. Lawrence Market Toronto, Canada | Traveling Through Food
|
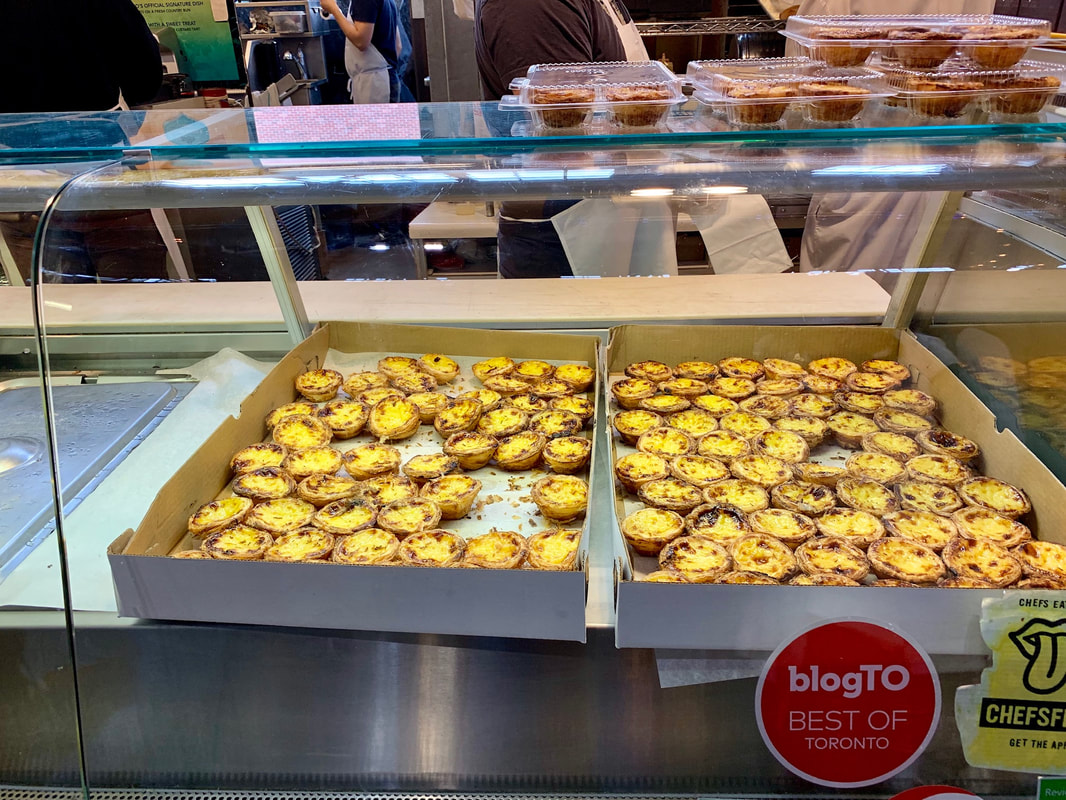
Pastéis de Nata from Carousel Bakery in St. Lawrence Market Toronto, Canada | Traveling Through Food
 |
Flash Forward to summer 2019 when family brought back some Pastéis de Nata after attending the Love Never Fails International Convention in Lisbon! And later when we sought out Azores Cafe in Pittsburgh so we could have some more Nata.
Basically, it was high time we tried to make Pastéis de Nata at home...
A Pastel de Nata has two main elements to master:
Which begs the question....
- Flaky Crust
- Creamy Custard
Which begs the question....
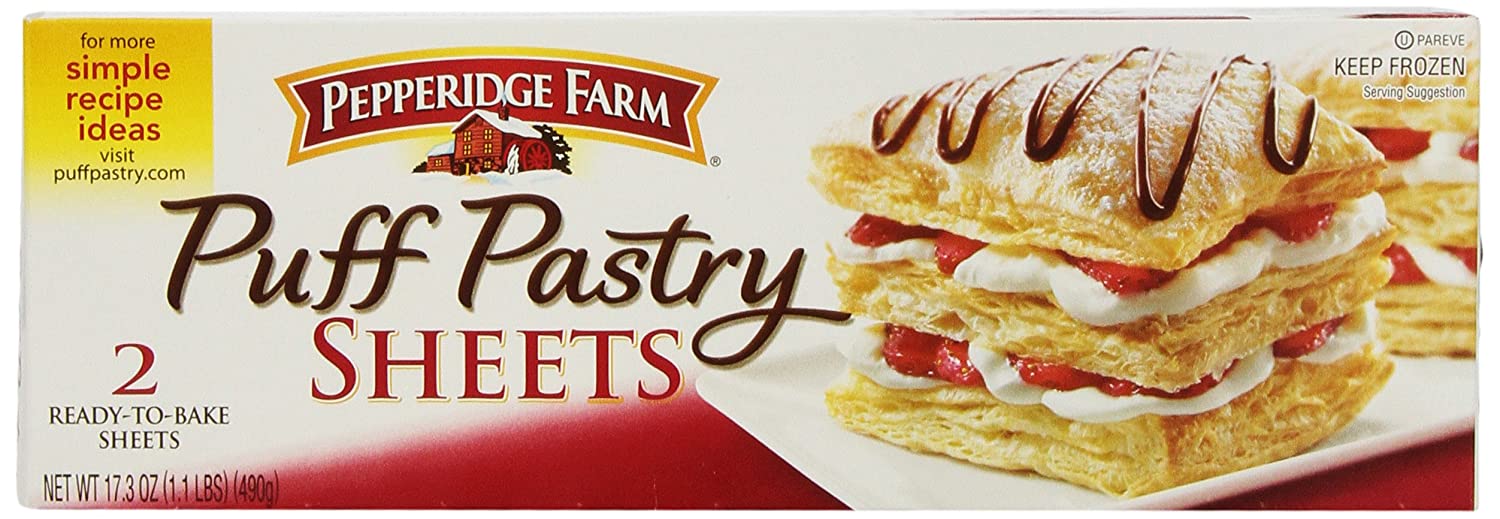
Can you make Pastéis De Nata with frozen puff pastry?
|
The answer is yes! If you don't want to go through the effort of making your own puff pastry, you can definitely take the short cut and use frozen puff pastry. I used Pepperidge Farm Puff Pastry Sheets and it worked like a dream. In the future, I would like to do it 100% from scratch, but it's nice to lower the barrier of entry. ANYONE can make this!
|
 |
How To Make Pastéis de Nata Custard Step-by-step
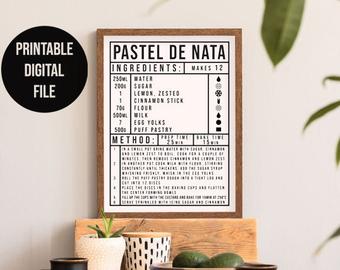
I followed LeitesCulinaria's recipe found here
- Whisk 3 tablespoons of flour with 1/4 cup of milk until smooth
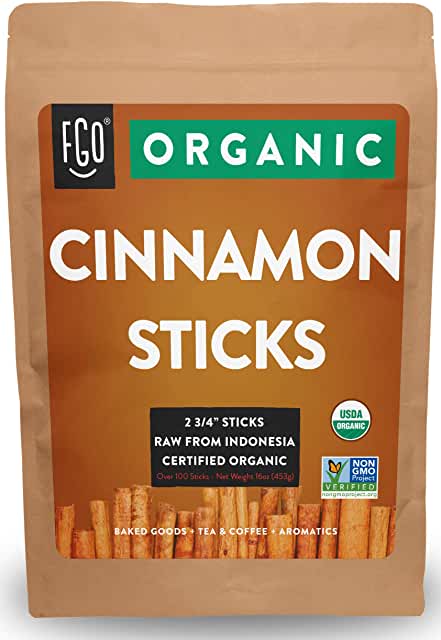
- Bring 1 1/3 cups granulated sugar, 1 cinnamon stick, and 2/3 cup of water to boil. Do not stir this, but let it boil until 220F or 100C
- Scald 1 cup of milk (237ml) in a separate small sauce pan. Whisk scalded milk into the milk/flour mixture.
- Take the cinnamon stick out from the syrup and pour it into the milk/flour mixture, whisking the whole time. Stir in 1/2 teaspoon of vanilla.
- Whisk the yolks from 6 large eggs in a bowl. Then whisk them into the milk/flour/syrup mixture.
- Strain this thin mixture into a bowl.
How long will Pastéis de Nata uncooked custard mixture last?
Uncooked custard mixture can last in the refrigerator for up to 3 days according to LeitesCulinaria.
At what temperature does milk scald? Why do you scald milk
Milk scalds once it is heated above 180F or 83C. Scalding milk can kill bacteria and enzymes that may interfere with thickening in recipes. (sources here and here)
Tips for using Frozen Puff Pastry to Make Pastéis de Nata
You will want to take the pastry out of the freezer well in advance.
How long does it take for frozen puff pastry to defrost/thaw from frozen?
In general, thaw at room temperature for 2 hours or overnight in the refrigerator.
It's important to let the pastry thaw or else you will break it when you try unroll it from the package.
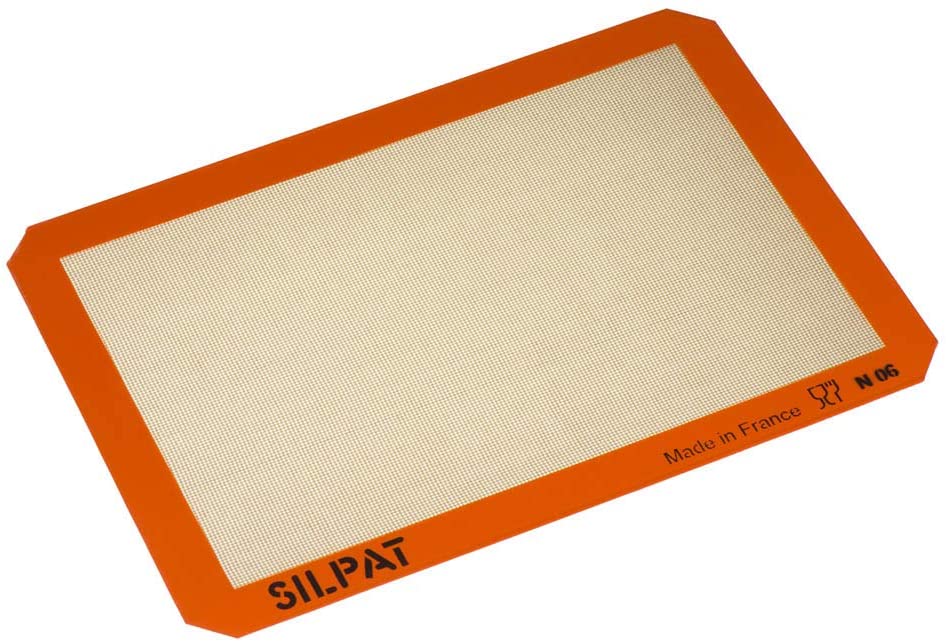
Once the pastry is thawed, you are going to lay it flat on your work space (I used this large cutting board) and then roll it tightly into a log. Wrap it in plastic and refrigerate until you are ready to assembly your Portuguese custard tarts!
See this CupcakeJemma video below for the technique:
How long does it take for frozen puff pastry to defrost/thaw from frozen?
In general, thaw at room temperature for 2 hours or overnight in the refrigerator.
It's important to let the pastry thaw or else you will break it when you try unroll it from the package.
Once the pastry is thawed, you are going to lay it flat on your work space (I used this large cutting board) and then roll it tightly into a log. Wrap it in plastic and refrigerate until you are ready to assembly your Portuguese custard tarts!
See this CupcakeJemma video below for the technique:
|
|
|
Assembling Pastéis de Nata
|
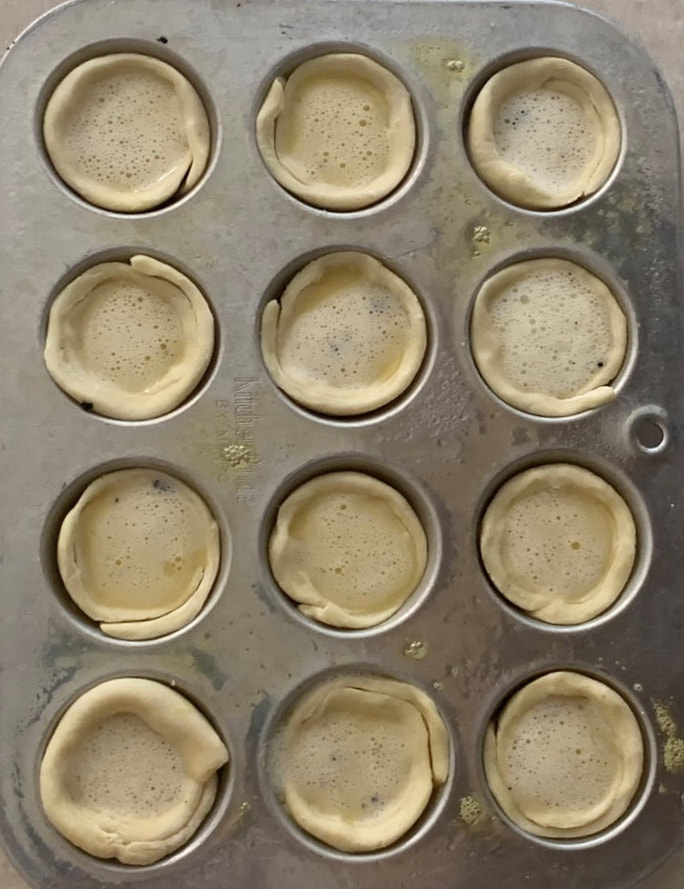
Making Pastéis de Nata with Frozen Puff Pastry | Traveling Through Food
|
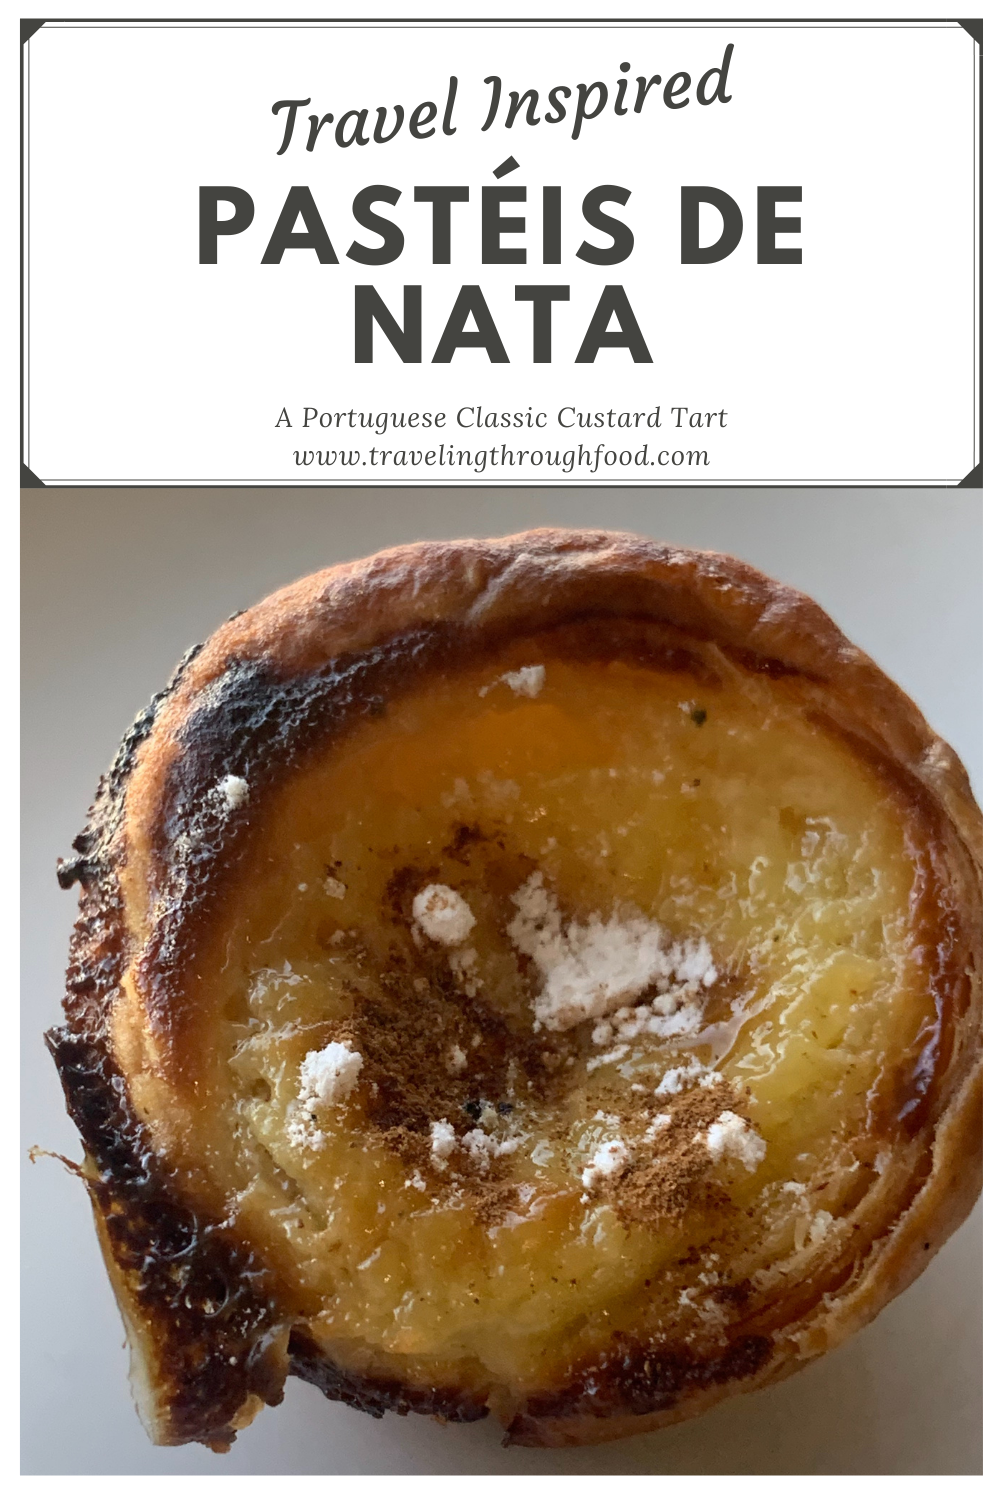
The final product was quite adorable and delicious! This one has a very light dusting of powdered sugar and cinnamon on top.
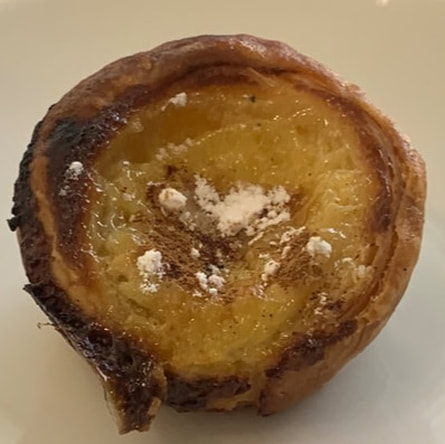
Mini Pastel de Nata made with Frozen Puff Pastry | Traveling Through Food
I also tried to make them in normal sized cupcake tins, but I filled them up too high, causing the custard to run down the side and caramelize way before the pastry was fully cooked. You can tell below that the pastry at the bottom is still soft. I definitely recommend taking seriously the recommendation to fill just 3/4 full!
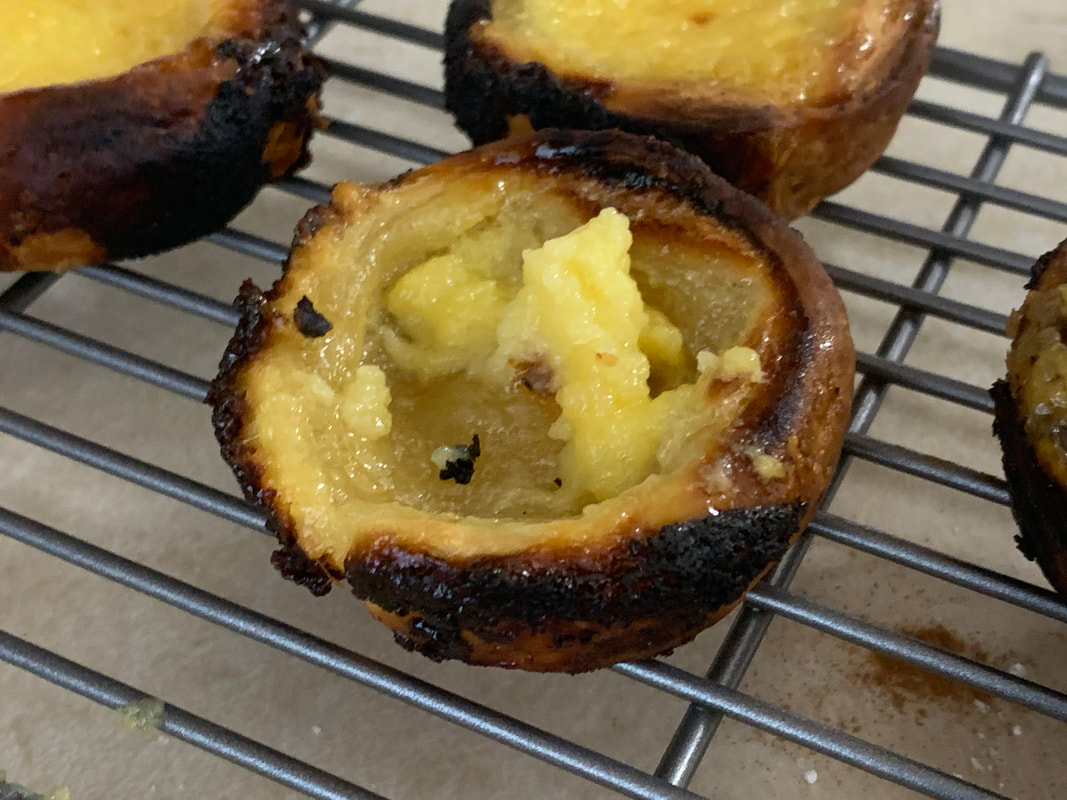
Tip: Fill 3/4 full with custard to prevent overflowing, over caramelization, and undercooked pastry
When do you eat a Pastel de Nata?
According to Eater, "locals eat Pastéis de Nata at breakfast, in the midmorning, after lunch, or in the evening — any time they're craving a snack"
Should you eat Portuguese custard tarts hot or cold?
|
There's no wrong way! Some people love them warm, others like the texture of the custard better when it is at room temperature. Still others like them cold! The only way to decide is to try them all three ways, don't you agree? ;-)
Do Pastéis de Nata need refrigerated?
In most instances, there won't be any left over since they are so tasty! But on the off chance that you do have left overs it is recommended that you store them in the fridge.
How do you reheat Pasteis de Nata?
Reheating a pastry like this is best done in an oven or toaster oven over a microwave, for sure. 350F around 7 minutes should do the job!
How long do Pasteis de Natas last?
In an airtight box they may last up to 2 days. If refrigerated around 5 days. But seriously, just eat them today. :)
|
|
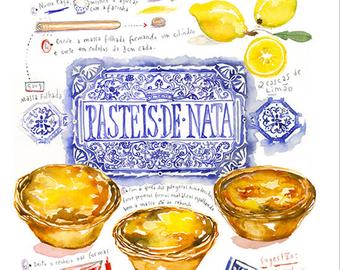
Is there lemon in Pastéis de Nata?
Although this particular recipe did not call for it, many recipes do infuse lemon flavor into the simple syrup by adding lemon rind to the water, sugar, and cinnamon stick! I will definitely try this next time because I love a bit of lemon in a custard.
Tools That Make It Easier To Make Pastéis de Nata at Home:
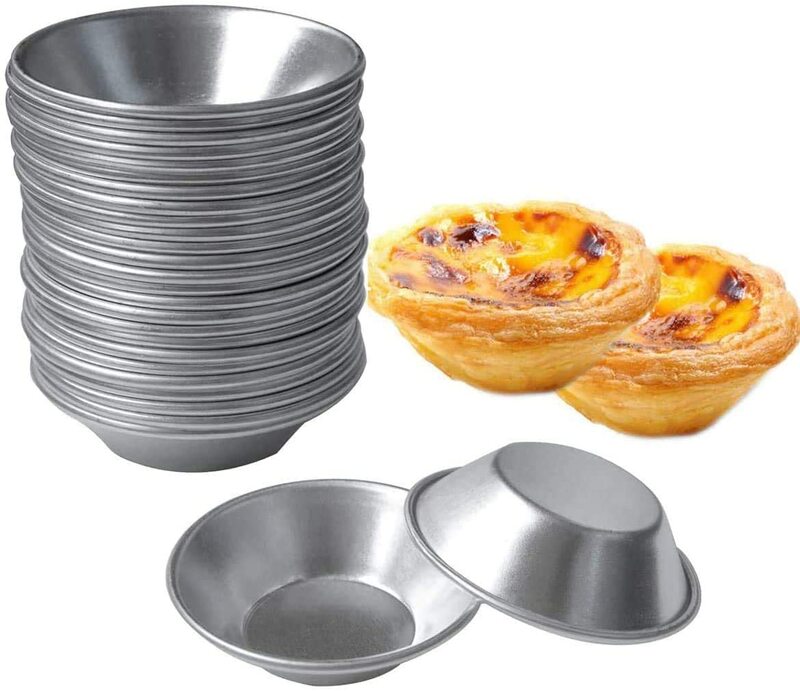
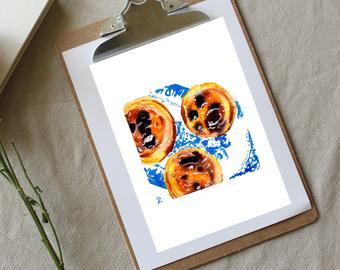
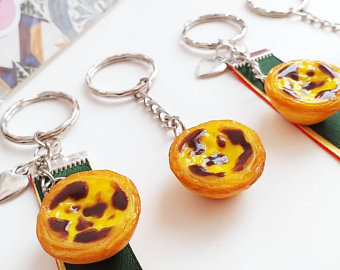
For That Friend Who is Obsessed With Pastéis de Nata:


|
|
Tried This Recipe?
Send us a photo, tag us @travelingthroughfoodtogether, or leave a comment below! We'd love to try your favorite recipes or hear about foods you discovered while traveling! Submit a recipe or food story to Traveling Through Food |
Pin & Share This Post:
original post 10/29/20
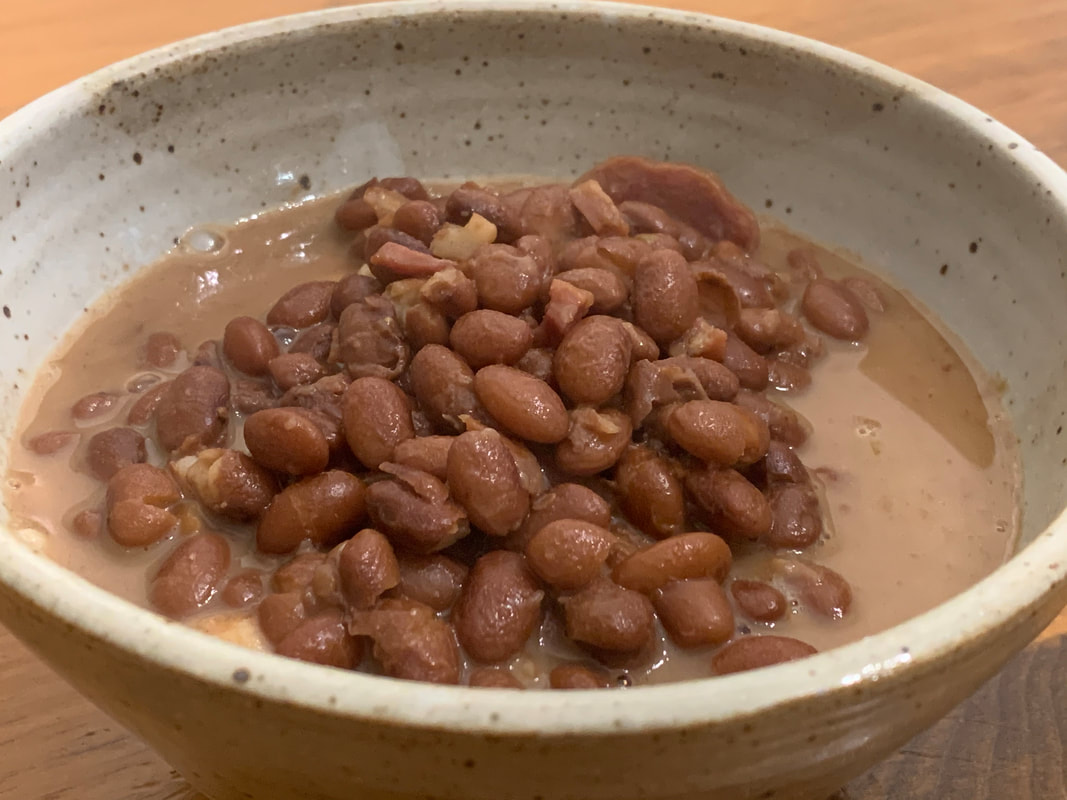
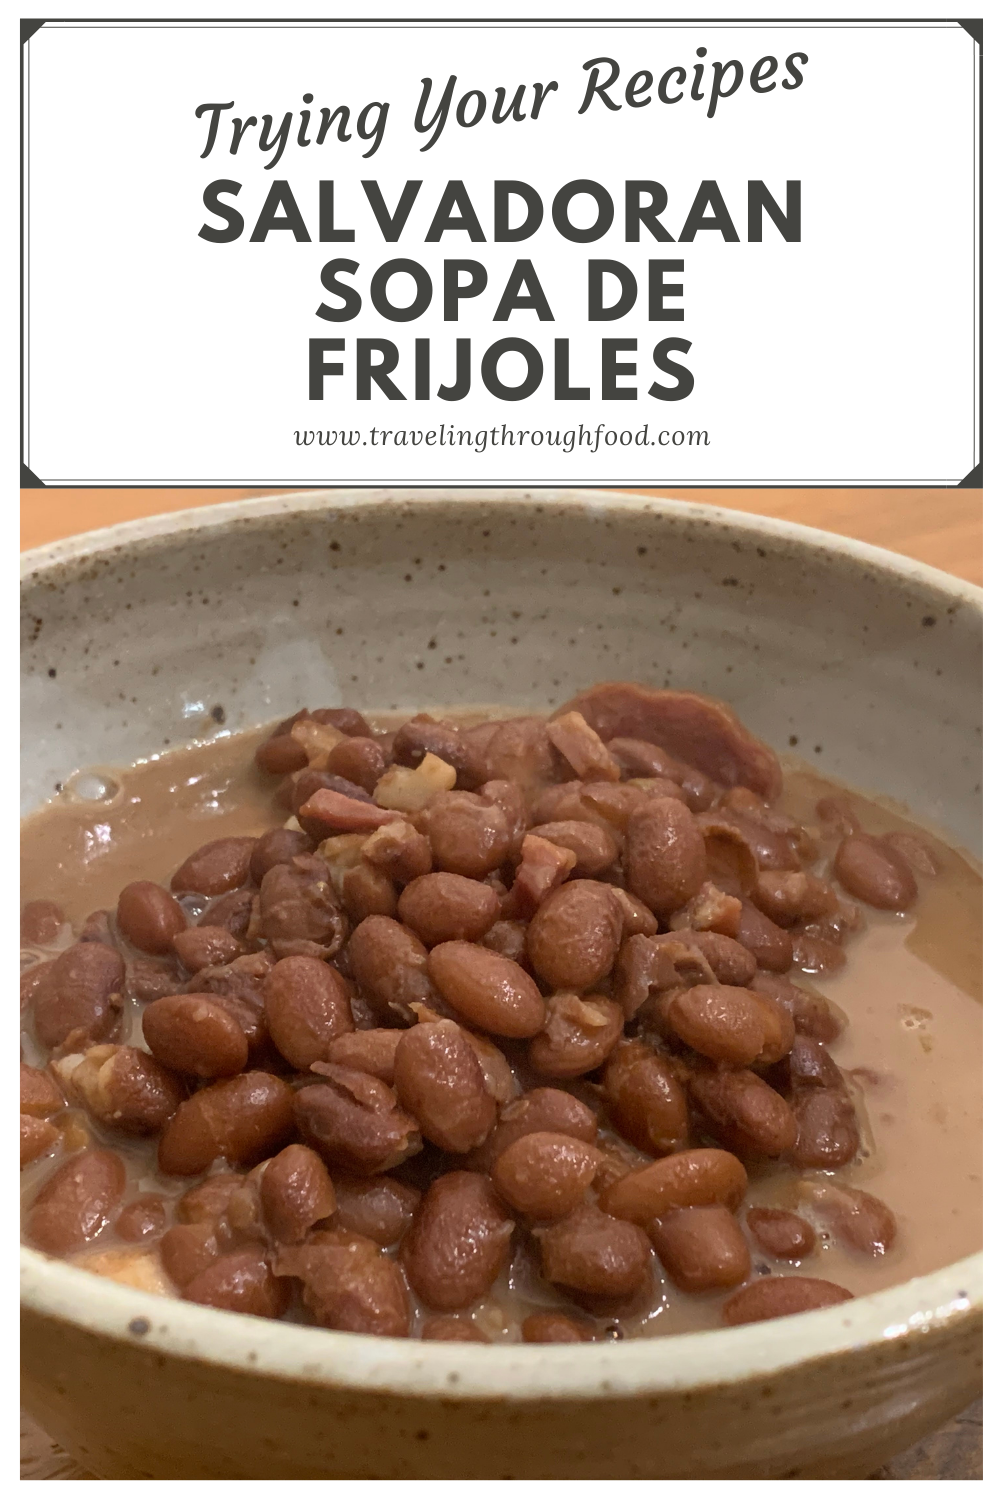
Bowl: Handmade by SageEdenPottery in OKC
Sopa De Frijoles (Bean Soup) Recipe from El Salvador is filed under:
Beans • Soup • Family Recipes • Recipes • Meal Prep • Lunch • Dinner • El Salvador • Central America
Beans • Soup • Family Recipes • Recipes • Meal Prep • Lunch • Dinner • El Salvador • Central America
A huge thanks to Keisha from Kansas, USA for submitting this family recipe for
Salvadoran Sopa De Frijoles (bean soup)!
This recipe was passed down to her from her mother-in-law and sister-in-law. How cool is that?!
Salvadoran Sopa de Frijoles is traditionally cooked over an open flame with a clay pot. You can imagine how much flavor that imparts. Keisha nicely explains the difference as being "like cooking a steak in your kitchen or on the grill.... Either way, it's still pretty tasty!"
How to make Sopa de Frijoles
Find Keisha's family recipe below. I made a few modifications starting with the beans. I couldn't get the small red beans via Instacart so I got pink beans. I went ahead and sautéed the onion and garlic a bit before adding the rinsed beans to the pot.
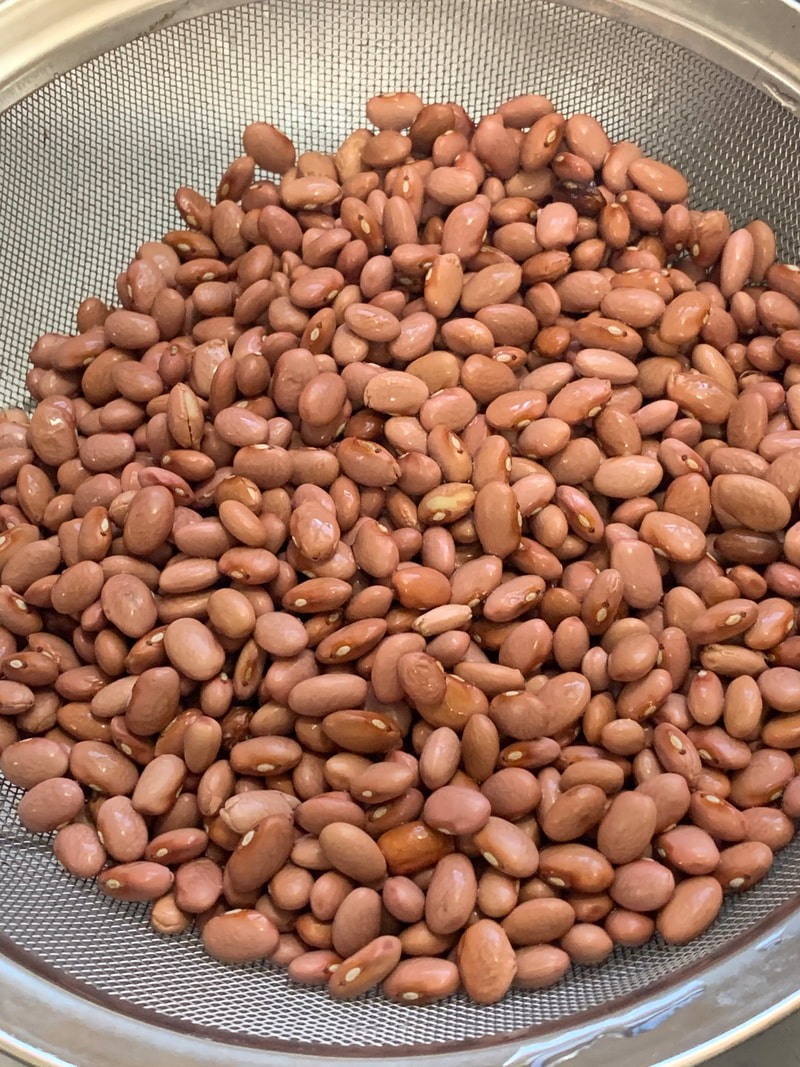
Rinse the beans
|
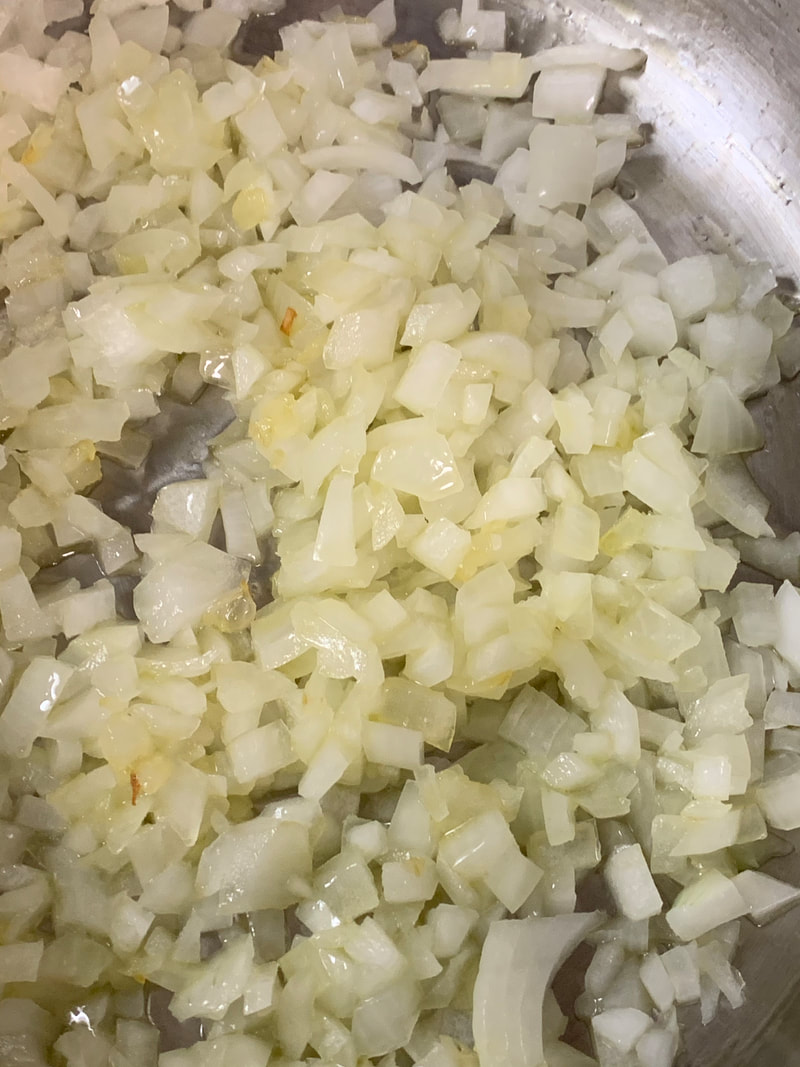
Sautéing onions and garlic
|
Once the beans were added, just go ahead and add the water!
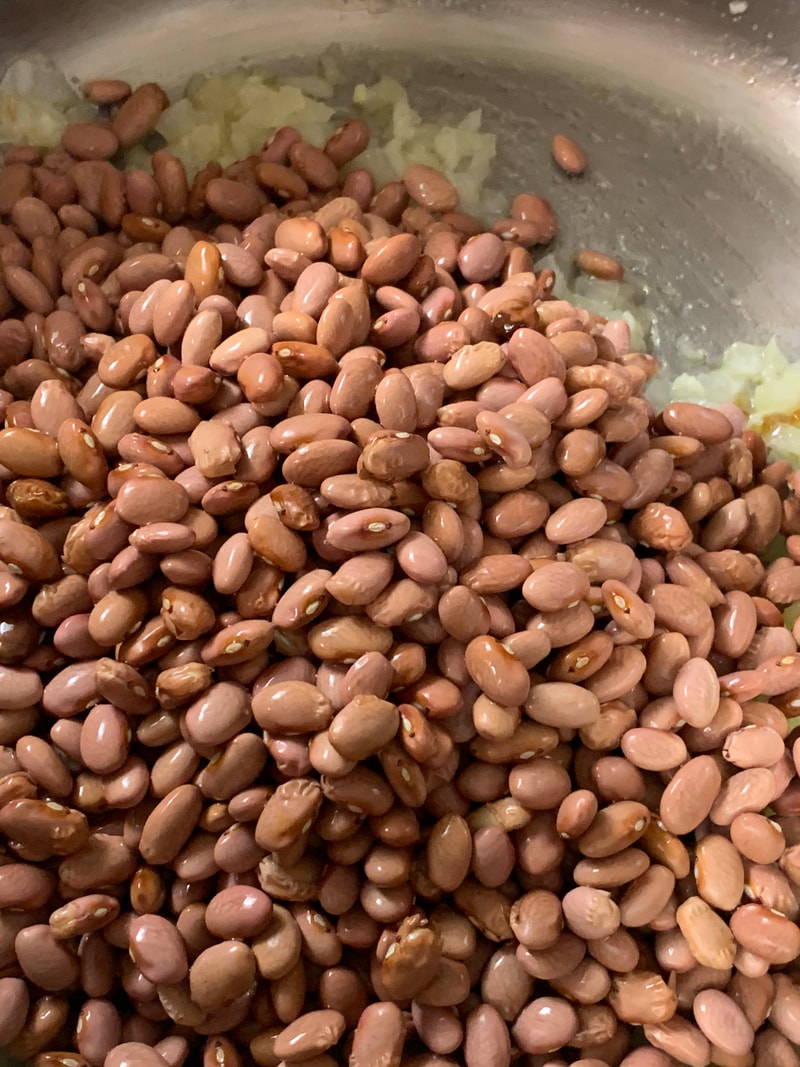
Add beans to the sautéed onion and garlic
|
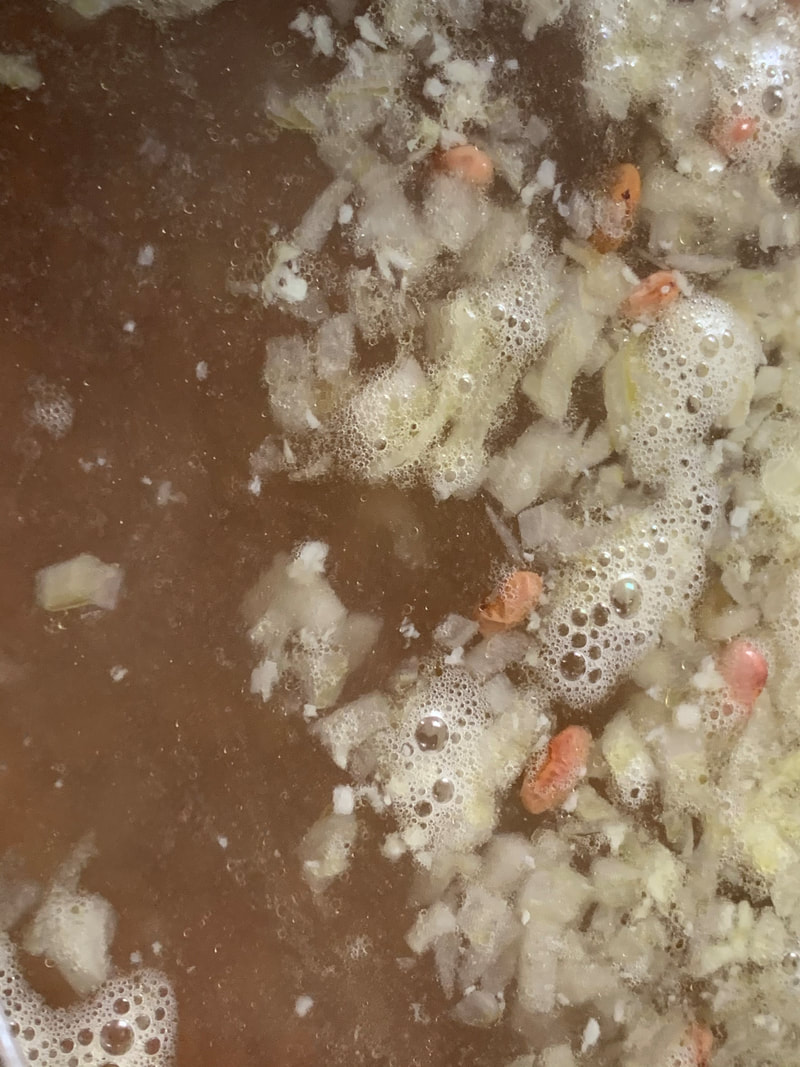
Add water to the pot!
|
Bring the sopa to a boil and then reduce to a low simmer.
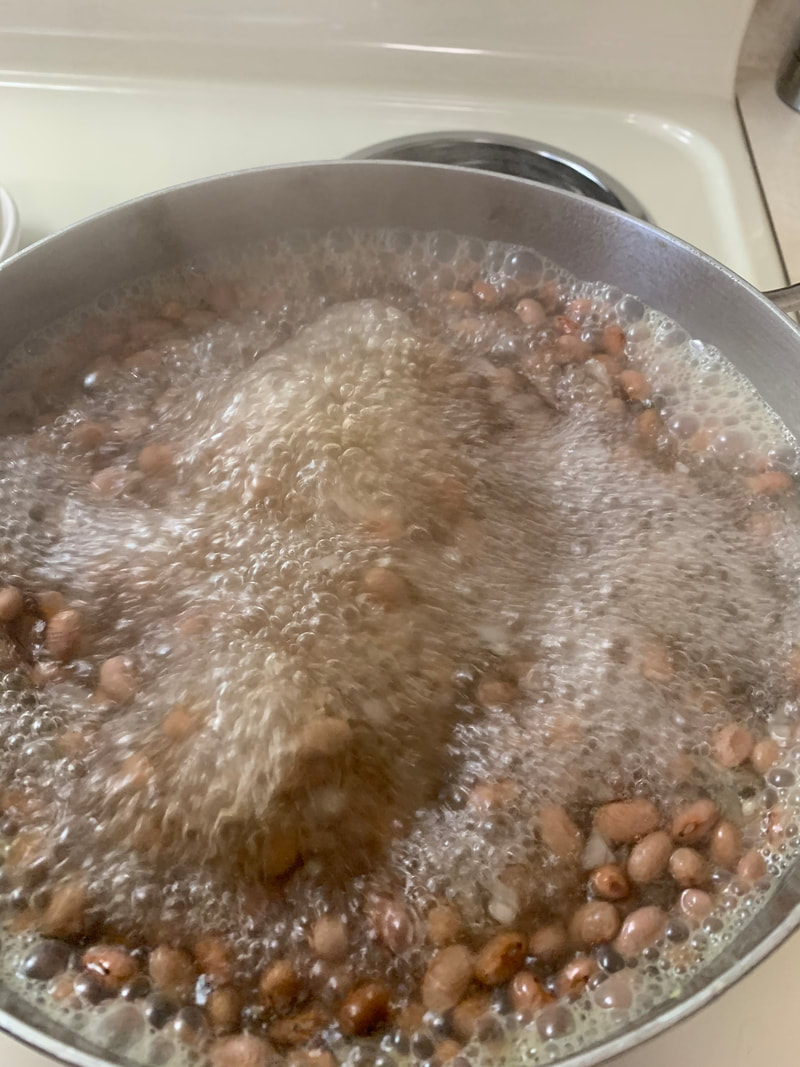
Bring to a boil, then reduce to simmer for a couple hours
|
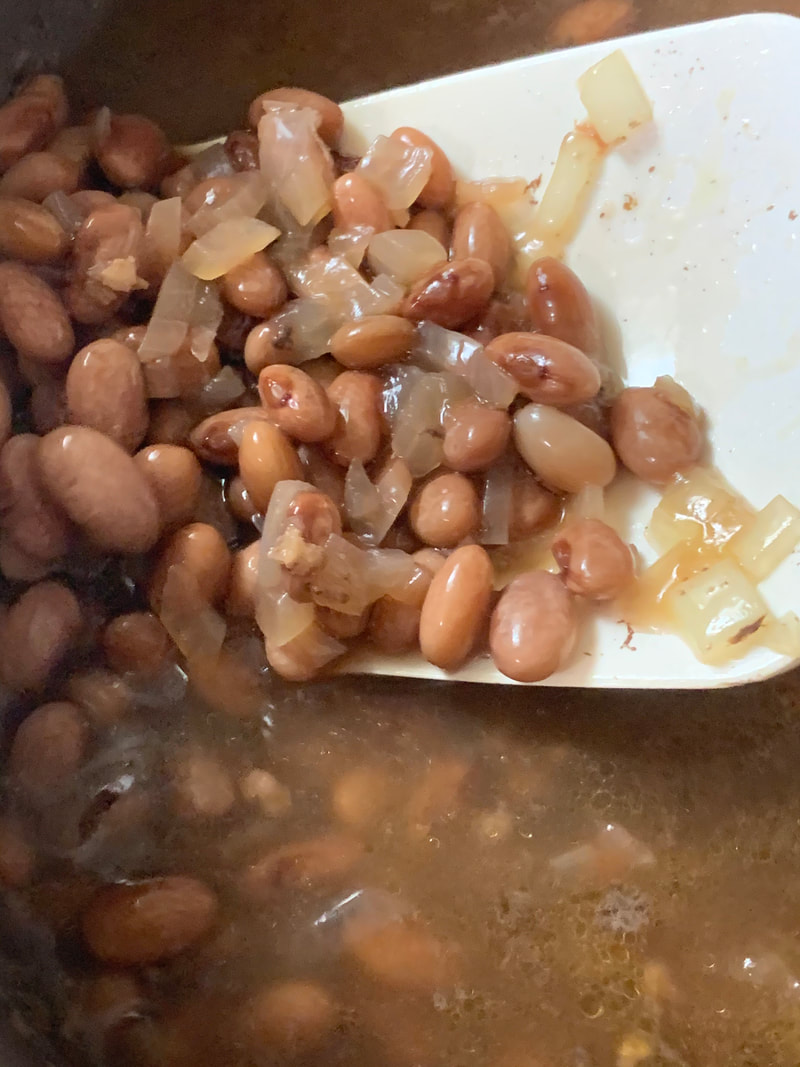
Stir and taste occasionally to check for texture and seasoning
|
Every now and again I gave it a stir and a taste. To finish the soup you an add any toppings you like. I actually added a bit of fried salami and some cheddar cheese! This soup is easy and hearty and very affordable. It reignited my confidence in cooking beans from dry instead of using cans! I love that you can mix it up with this recipe by adding whatever topping you're in the mood for or whatever you want to use up in the fridge. It would be cool to try it cooked in a clay bean pot, too!
Thanks so much to Keisha for sharing this recipe!
Thanks so much to Keisha for sharing this recipe!
Want to contribute to this giant international family cookbook?
Share your family recipes or go-to recipes here!
Share your family recipes or go-to recipes here!
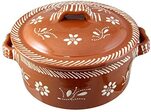
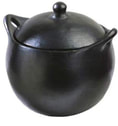
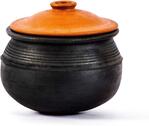
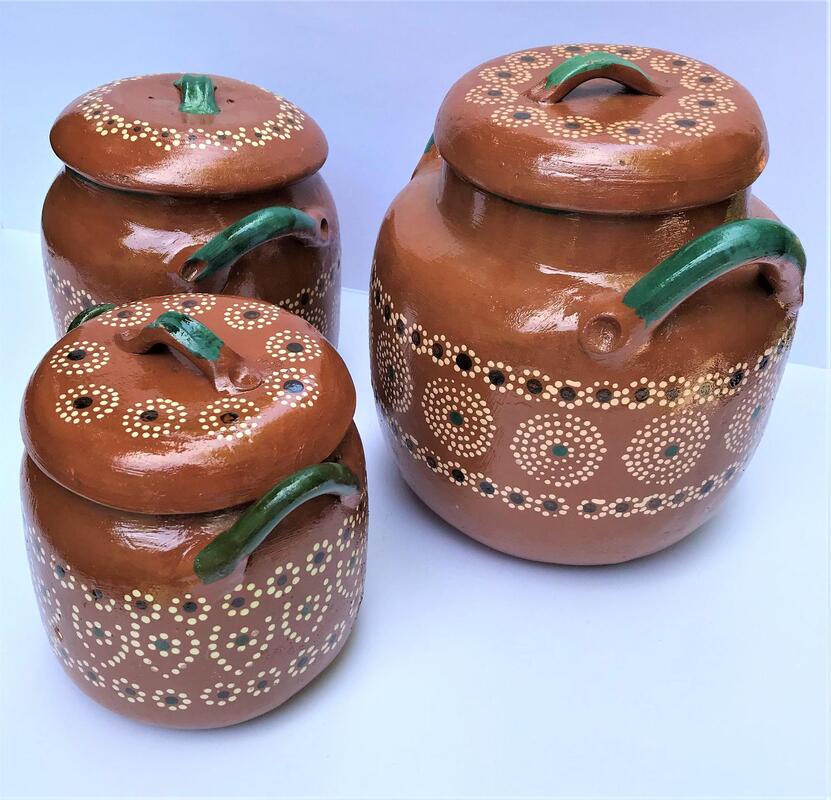
Want To Get A Clay Bean Pot?
Here are some bean pots from around the world: Mexico • Central Colombia • India • Portugal
Here are some bean pots from around the world: Mexico • Central Colombia • India • Portugal
Salvadoran Sopa de Frijoles Receta (Bean Soup Recipe)
Clay Bean Pots
|
|
|
|

Tried This Recipe?
Send us a photo, tag us @travelingthroughfoodtogether, or leave a comment below!
We'd love to try your favorite recipes!
Submit a recipe or food story to Traveling Through Food
Send us a photo, tag us @travelingthroughfoodtogether, or leave a comment below!
We'd love to try your favorite recipes!
Submit a recipe or food story to Traveling Through Food
Sopa De Frijoles (Bean Soup) Recipe from El Salvador is filed under:
Beans • Soup • Family Recipes • Recipes • Meal Prep • Lunch • Dinner • El Salvador • Central America
Beans • Soup • Family Recipes • Recipes • Meal Prep • Lunch • Dinner • El Salvador • Central America
Pin & Share This Post:
original post 10/17/21
Filed under: Plate of the Day • Recipes
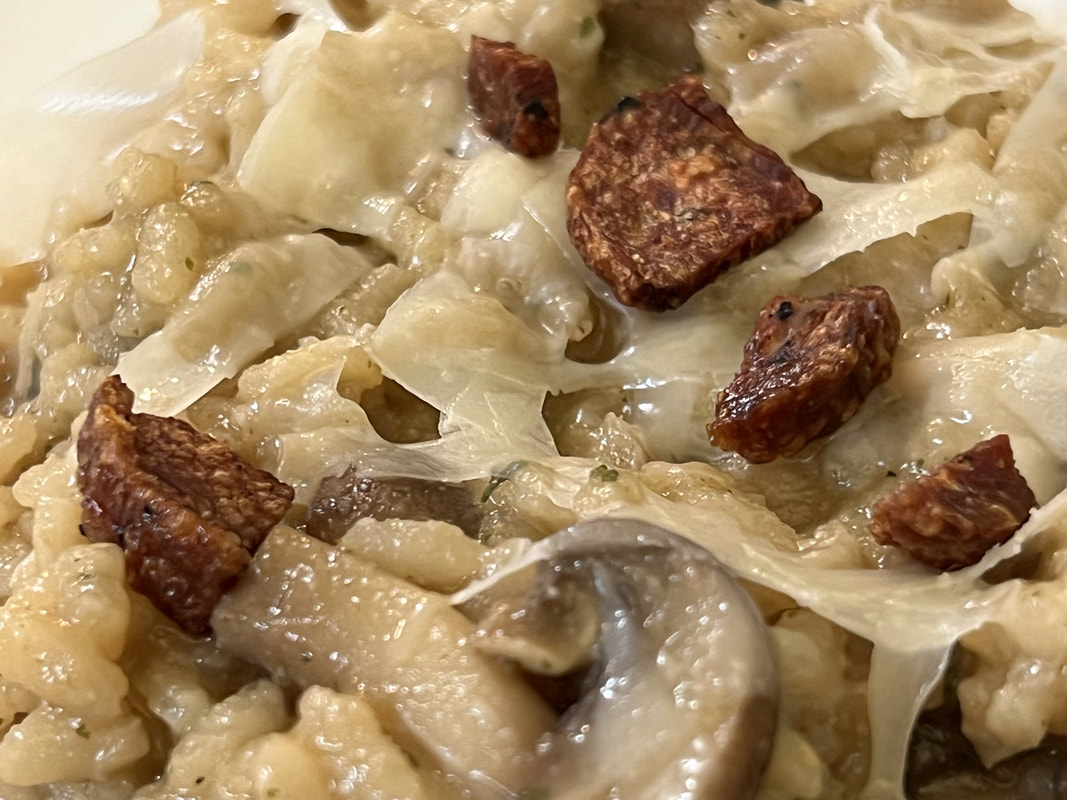
Mushroom Risotto with Crispy Salami
|
|
This is an unrecipe - no measurements, just ideas you can adapt!
|
|
|
Homemade chicken stock from leftover bones from Butcherbox coupon here
Mushrooms & Salami from Misfits Market coupon here
Mushrooms & Salami from Misfits Market coupon here
Misfits Market Reviews:
This post contains affiliate links & refer-a-friend links which help keep this website running while offering you a special discount!
original post 7/14/22
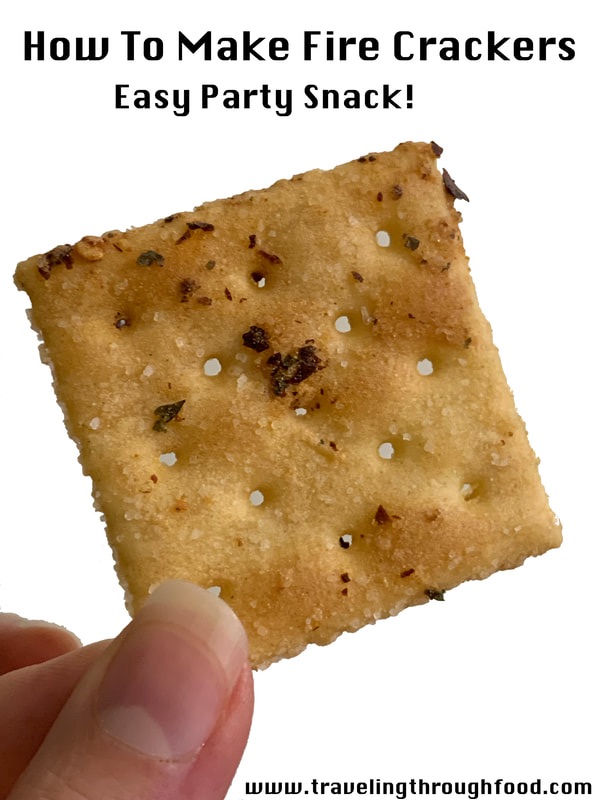
What are Fire Crackers?
Fire Crackers are a super simple recipe that make an addictive snack or appetizer and are a fun way to spice up (literally) some plain saltines! Follow along as I show step by step how to make this recipe, which I quartered.
How to Make Fire Crackers:
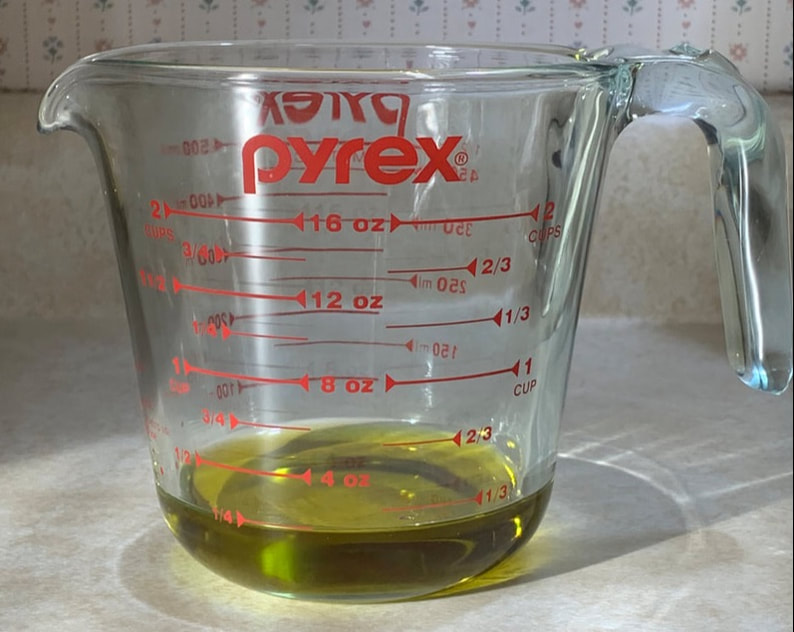
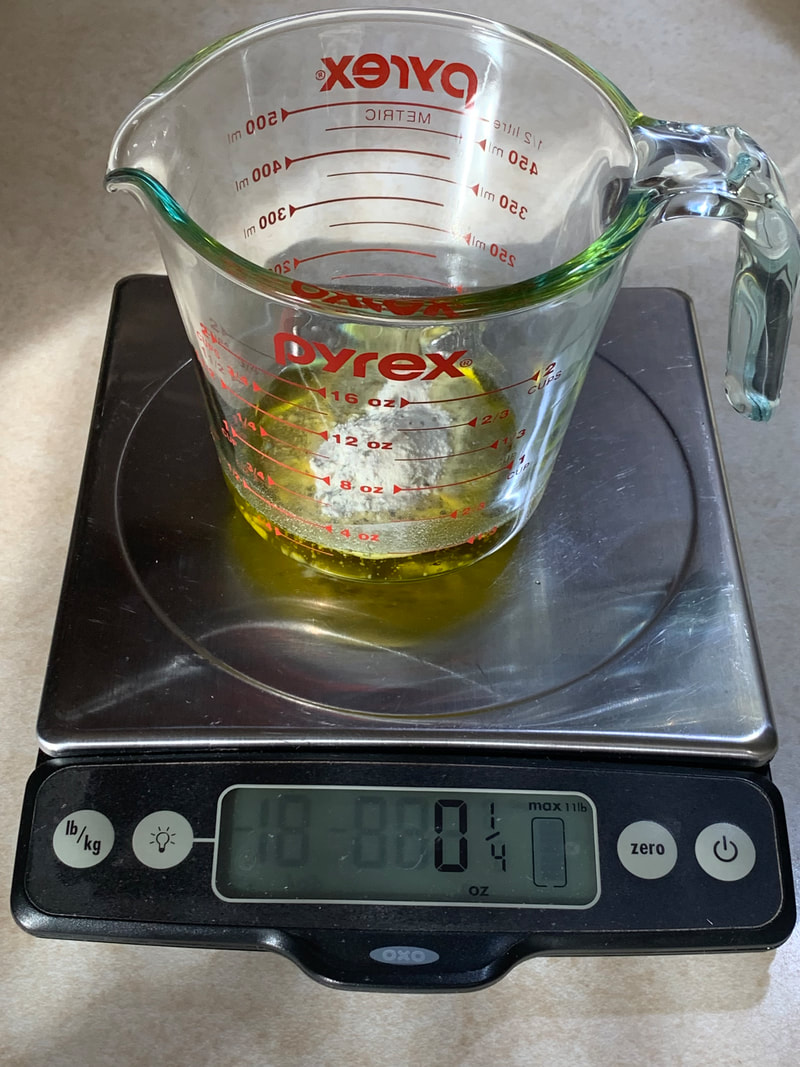
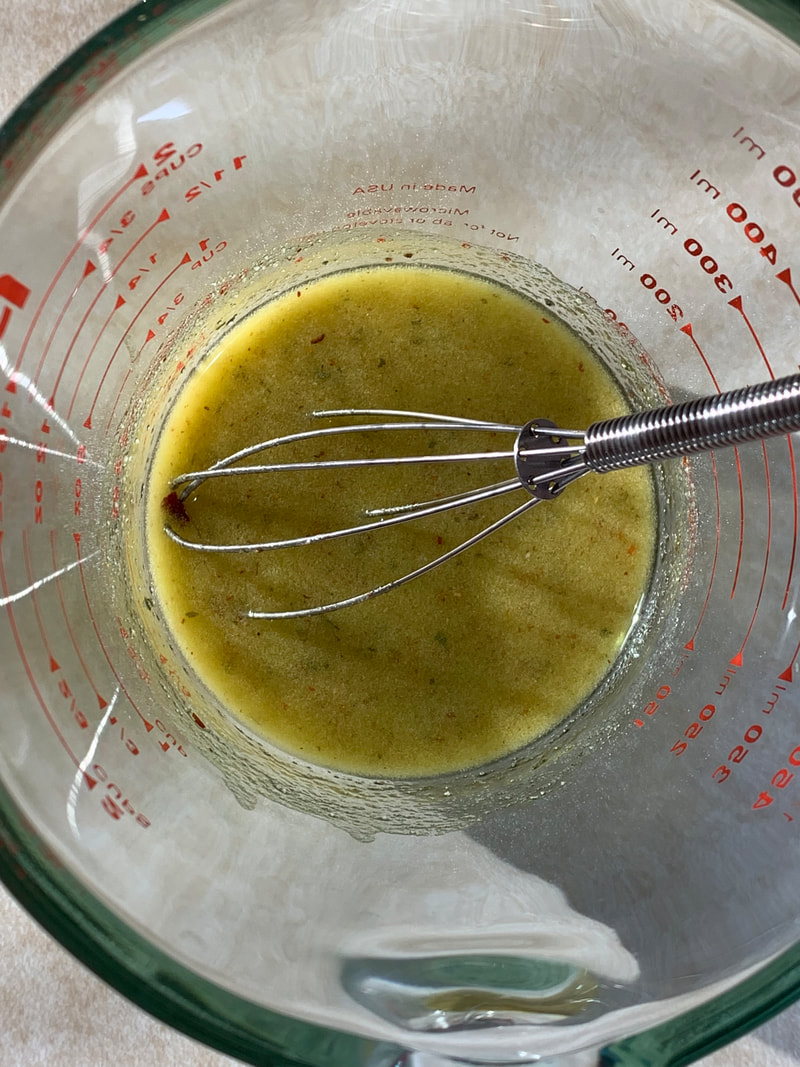
1. Measure out a quarter cup of oil. I use olive oil. I had this evoo on hand.
2. Add 1/4 ounce of Ranch Dressing Mix. I had a Tuscan Valley Ranch Mix from Aldi via Instacart.
3. Next add 1/2 Tablespoon of crushed red pepper flakes and 1/8 teaspoon of garlic powder.
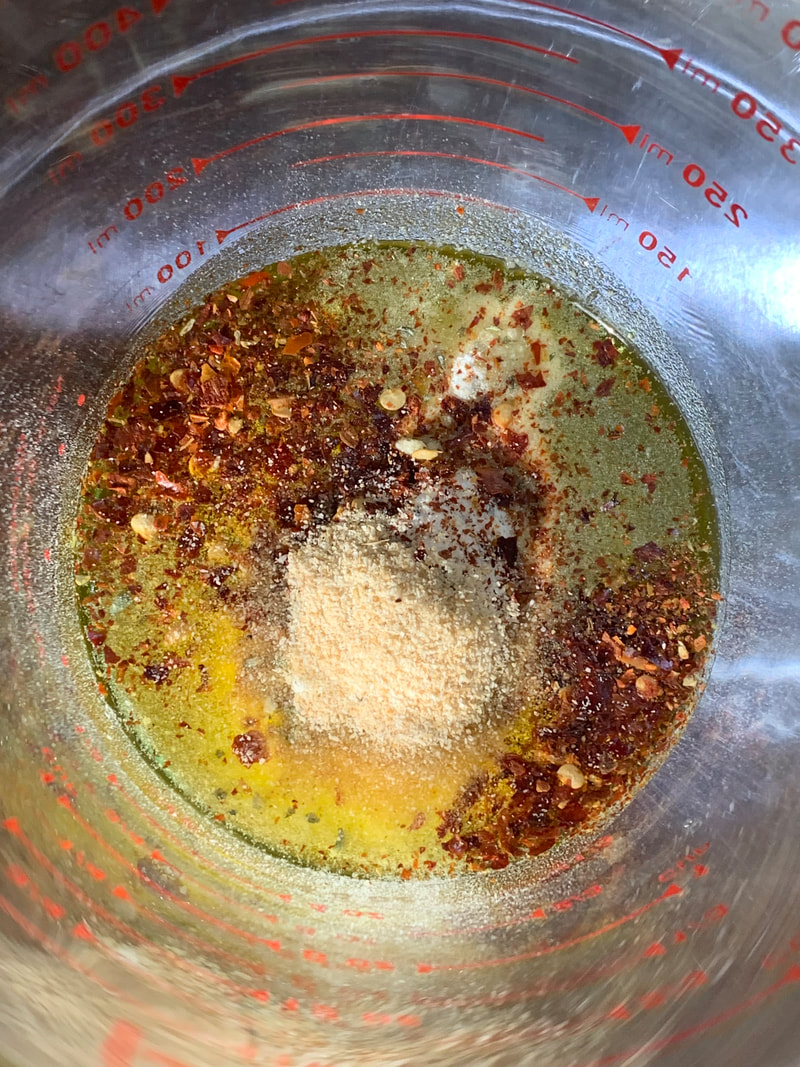
4. Whisk it up with your baby whisk!
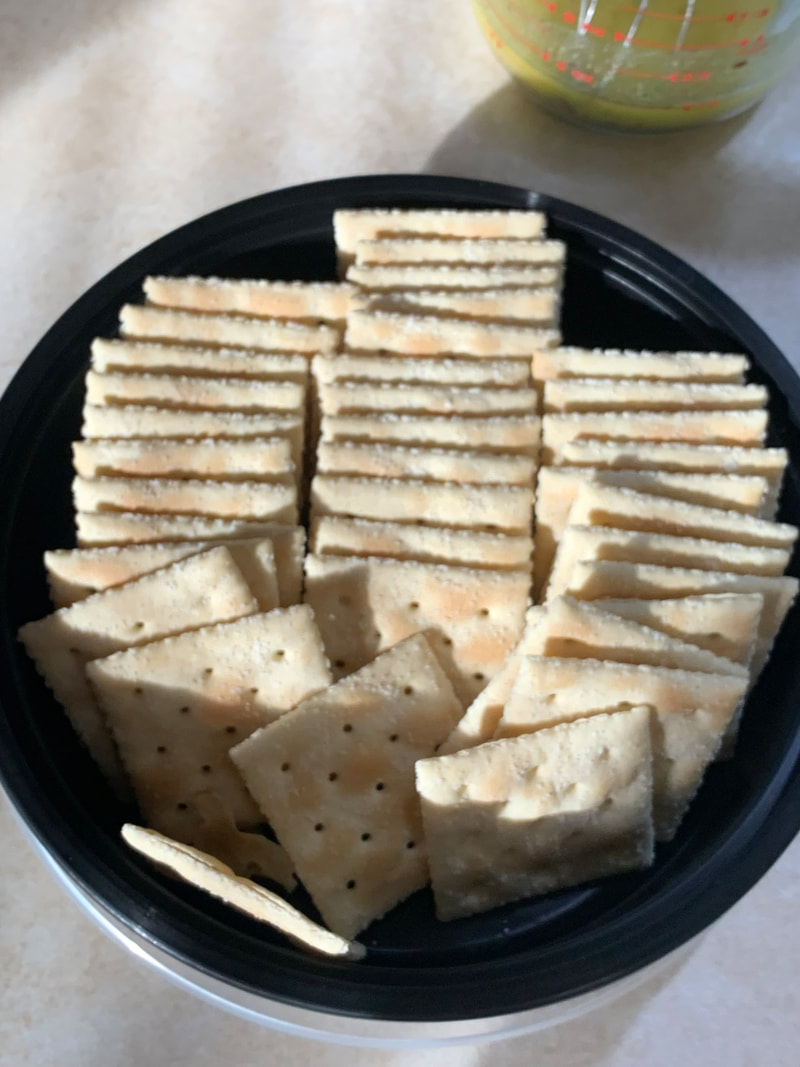
5. Next take a sleeve of saltines and stand them up in an airtight container. I had a leftover Thai Takeout container. Then drizzle the olive oil spice mix over all the crackers.
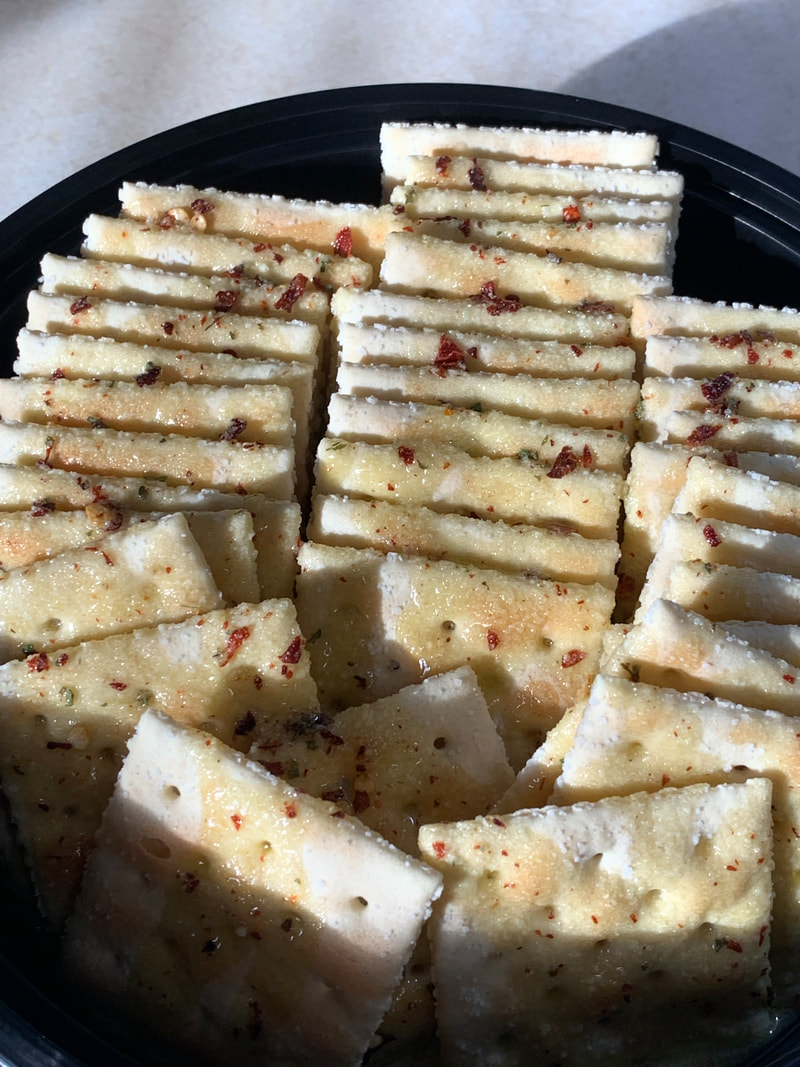
6. Put the lid on securely and turn the container upside down. Gently shake it side to side and flip it back and forth every 5 minutes or so over 20 minutes, just to try to get the crackers evenly coated.
7. One commenter suggested baking the crackers in an oven at 250 degrees F for 10-20 minutes (flipping once) to seal in flavor and help them last longer. So I gave that a go!
Here is the delicious end result:
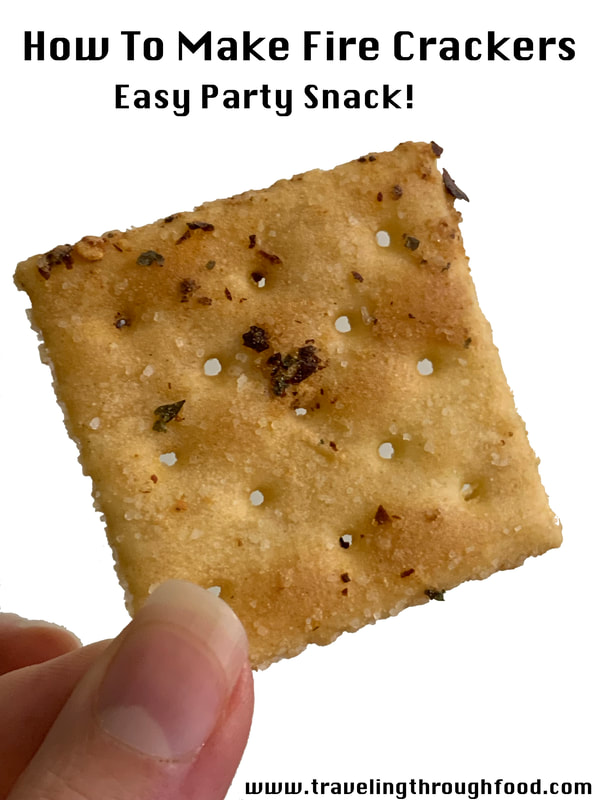
Baked Fire Cracker
As Seen In This Post:
|
|
|
|
|
|
More Recipes:

Oh, Hey!
We're Justin and Marissa
We love to travel and eat!
Traveling Through Food is a place to share some of our adventures in travel and food so you can find inspiration for your next big trip whether it's around the world or down the freezer aisle at the grocery store. :p
Planning a trip?
Conveniently for you, we also book travel! Fill out a request Marissa Books Travel
Tap for 81% off + 4 months free Surfshark VPN Discount!
Categories
All
Alaska Cruise
Aldi
Algarve
Algarve Restaurant Reviews
Americans In Portugal
Apples
Are Travel Agents Worth It?
Bacon
Balcony Stateroom Cabin
Beans
Beef
Book Travel
Breakfast
Celebrity Cruises
Central America
Client Services
Couples Travel Blog
Cruise Food
Cruise Reviews
Cruises
Cruise Travel Blog
Desserts
Dinner
Door Dash Review
Drinks
Egg
El Salvador
Europe
Expats In Portugal
Experiences
Family Recipes
Flight Reviews
Grocery Reviews
Hello Fresh
Hotel Reviews
Imperfect Foods
Inspired By Travel
Italy
Italy Travel Blog
JW Guides
JW Travel Agent
Lisbon
Lisbon Hotels
Lisbon Restaurant Reviews
Lisbon Restaurants
Lisbon Travel Blog
Lunch
Marissa Books Travel
Meal Kits
Meal Prep
Mediterranean Cruise
Misfits Market
Moving Abroad
Mushrooms
Naples
North America
Norwegian Cruises NCL
Pasta
Pastries In Portugal
Pastry
Photo Diary
Pizza
Pizza In Italy
Pizza In Portugal
Plate Of The Day
Portugal
Portugal Travel Blogs
Potato
Princess Cruises
Recipe Reviews
Recipes
Recipes Cooking Tips Grocery Reviews
Restaurant Review
Reviews
Rice
Rome
Royal Caribbean Cruises
Saving Money
Should I Use A Travel Agent?
Should I Use A Travel Agent To Book A Cruise?
Snacks
Soup
Stateroom Tours
Sun Princess
Sun Princess Inaugural Season
Take Out Delivery Review
Taste Test
Technical Writing
Tools & Gadgets
Train Travel
Travel Blog
Travel Blogs
Travel Credit Cards
Travel Days
Travel Deals
Travel News
Travel Tips Travel Hacks Packing Tips
Travel Tutorial
United Airline Miles
Vilamoura Restaurant Reviews
What Do Travel Agents Do
 RSS Feed
Archives
July 2024
May 2024
April 2024
January 2024
November 2023
October 2023
September 2023
August 2023
July 2023