|
original post 11/19/2020
Step 1: Make the Pasta Dough
It's best if you can get 00 pasta flour and a ratio of 100 grams to 1 large egg is generally a good place to start. (digital kitchen scales are the best) I guess making dough is a lot about how it feels and in time you will know if you need to add a bit more flour, an extra egg, or a few drops of water to get the consistency just right. The kneading took at least 15 minutes and then we wrapped up the ball of dough and let it rest at room temperature while preparing everything else.
Step 2: Make The Mushroom Ricotta Filling
Olive oil and a ton of sliced mushrooms went in a sauté pan with salt and pepper. Shallots, thyme, and garlic were added later followed by white wine. The mixture now needed to be chopped very finely. Our class didn't all have food processors, so we did the rustic, Italian grandma style chop on alarge cutting board with a good knife. Next time I would probably just save the time and use the food processor. Now we added ricotta, fresh grated parmesan, and parsley and did a final seasoning (salt + pepper) of the filling. then added one egg to the mix and put it in a pastry bag!
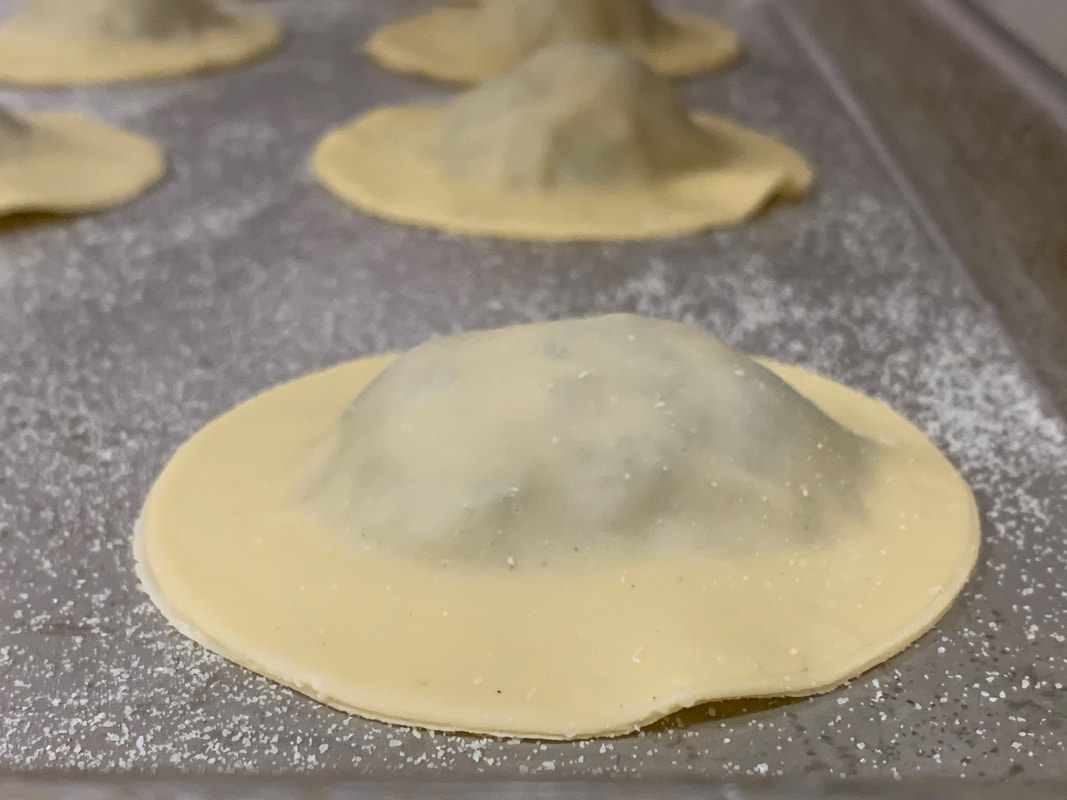
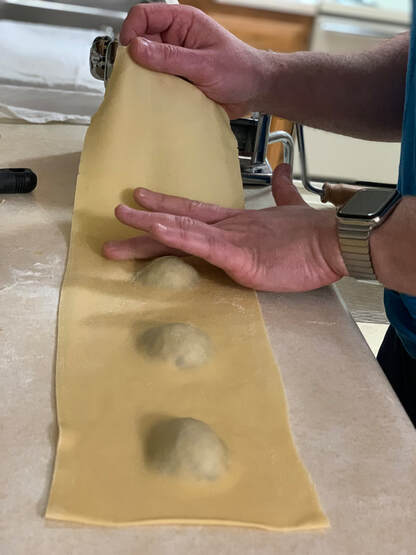
Step 3: Making The Ravioli
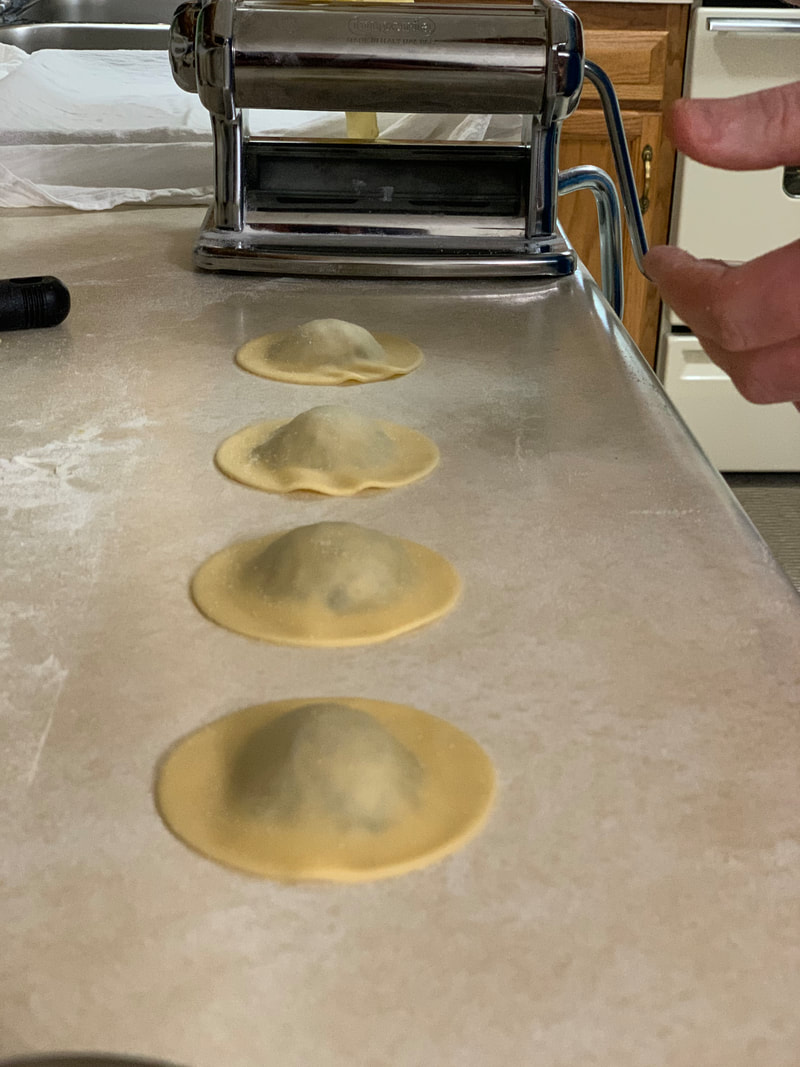
Clamp your pasta machine to your counter or table and make sure there is enough space for the dough you're rolling out! You'll want to start on the widest setting on the machine and work your way through the thinner settings. Work with a small piece of dough and keep the rest tightly covered so it doesn't dry out. You may need to add a dusting of flour in between to prevent the dough from sticking. Once the dough is rolled out, grab your pastry bag and squeeze filling along half of the dough, at least 1 inch apart. Brush pasta with whisked egg yoke and fold over the other half, carefully pressing the dough together and removing air pockets as you go. Use a cookie cutter, ring mold, or ravioli cutter to cut out each ravioli and put them on a baking sheet lined with parchment (or silpat) and sprinkled with semolina flour and cover with a kitchen towel while you keep working.
Raviolis ready to be cooked!
Step 4: Cooking The Ravioli
In a large pot with salted, boiling water, add raviolis in batches and cook until they float to the top (about 90 seconds or around 3 minutes if frozen)
Step 5: Making The Butter-Sage Sauce
In a large sauté pan, add a few tablespoons of butter, sage leaves, and a couple ladles of pasta water, bring to a simmer and season with salt. As the raviolis boil, scoop them out with a slotted spoon and add them to the sauce with some more butter and a bit more pasta water if needed.You're just going to cook them and move them around until the sauce has covered them nicely! Serve with some grated Parm!
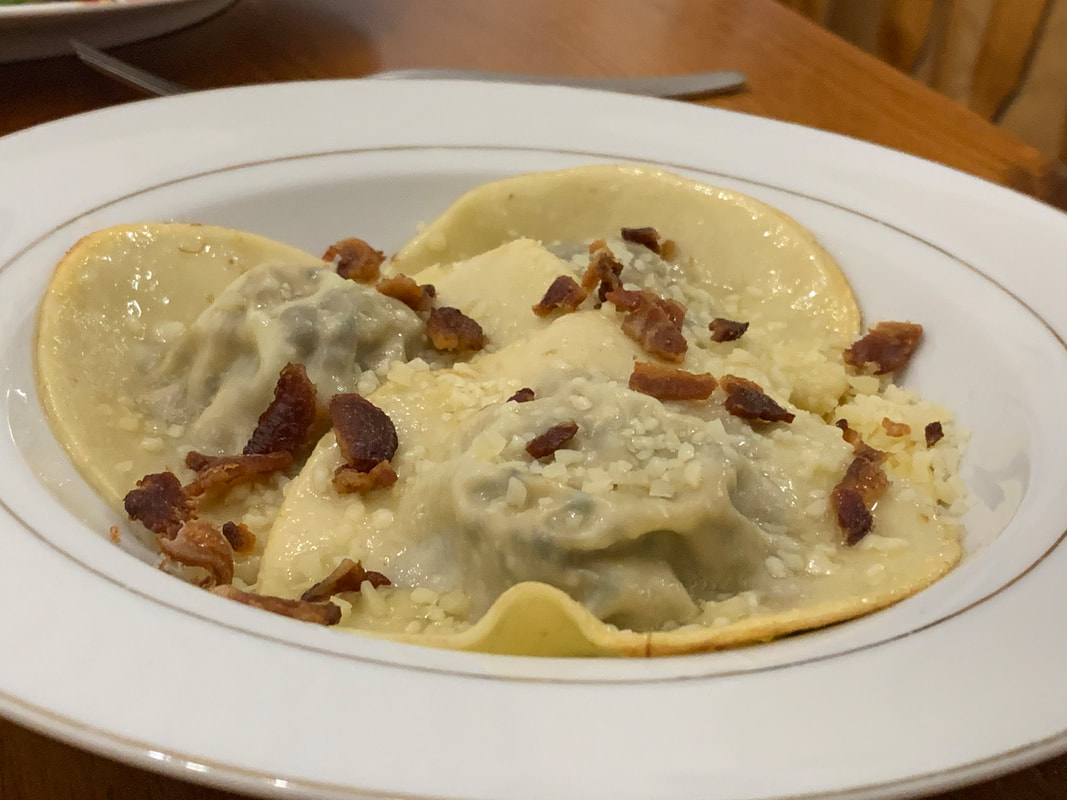
Left over raviolis topped with bacon :p
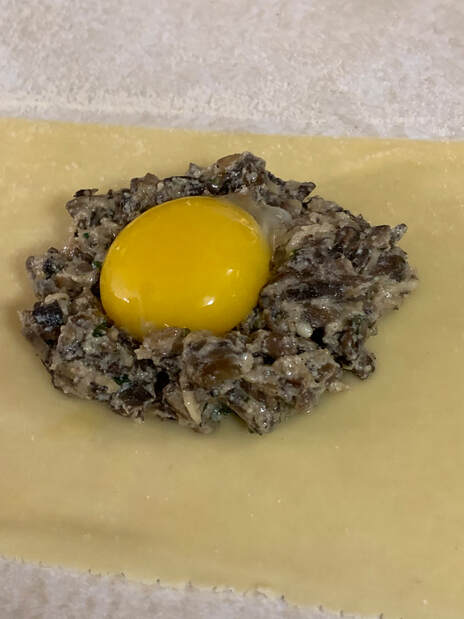
Bonus: The Egg Filled Ravioli!
Make a dip in the filling with your thumb and try to plop in a single egg yolk. If you can seal the ravioli well and cook it just right, when you slice it open you'll get a perfect runny egg to add richness to the sauce!
Mushroom Ricotta Ravioli Ingredient List
full recipe: Chef Luca Manfé
Shop Related Products:
Pin & Share This Post: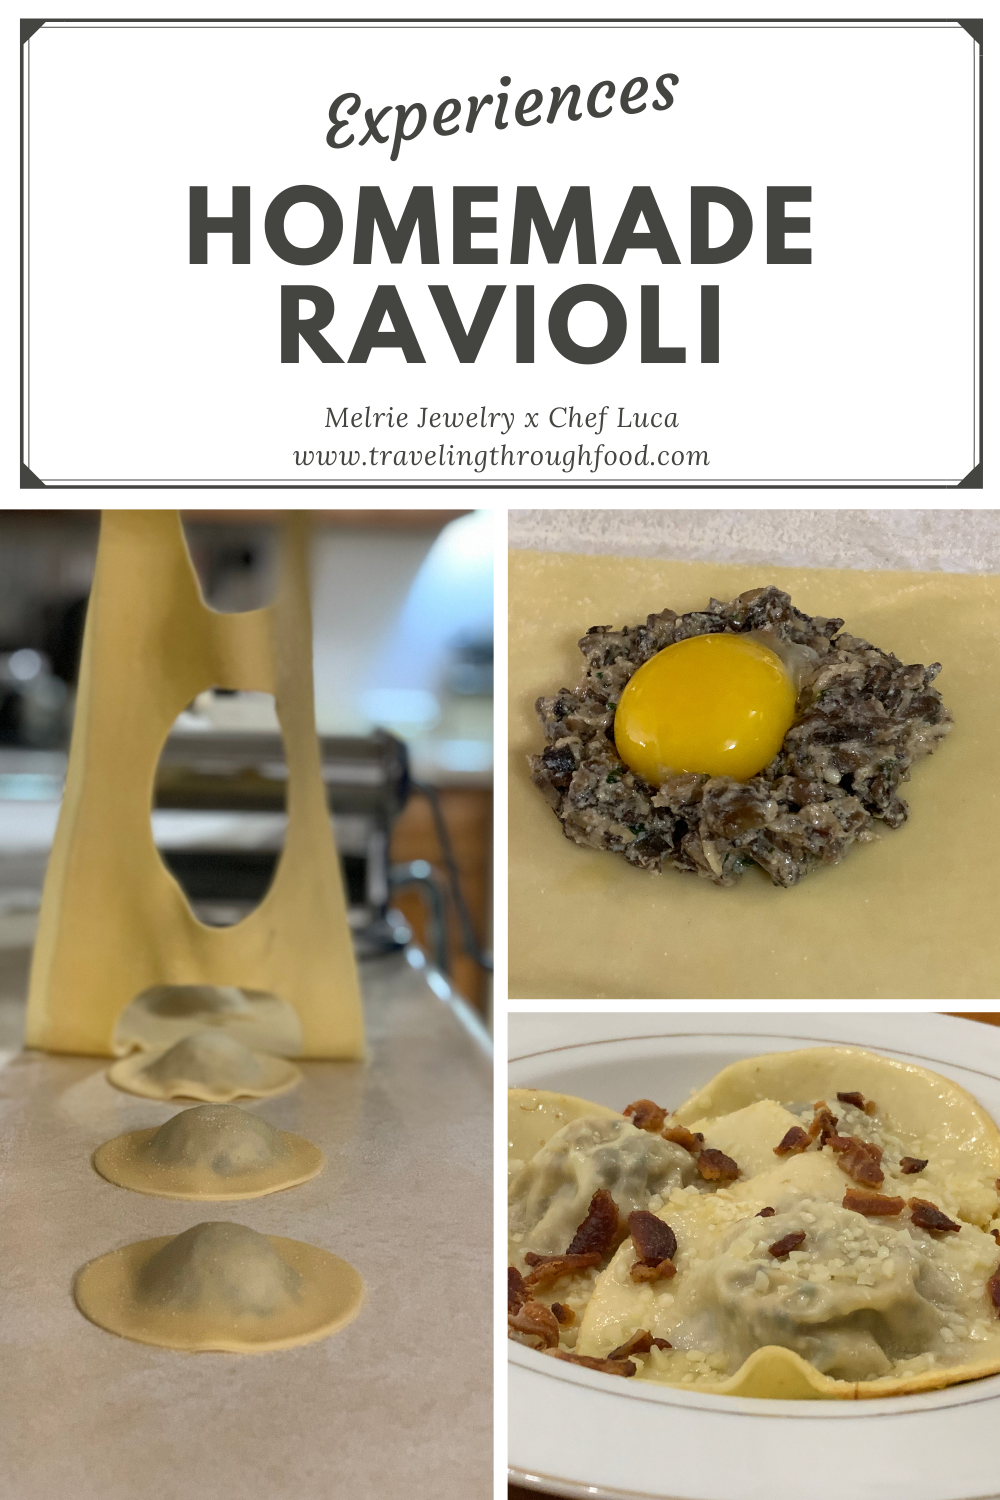
1 Comment
original post 12/24/2020
Halupki Stuffed Cabbage Soup aka Cabbage Roll Soup Dinner At The Zoo Recipe Review
Stuffed cabbage rolls are a delicious and hearty Eastern European dish, but they can take a lot of work to make. If you want the flavor profile of stuffed cabbage rolls (Halupki, Gołąbki, etc), but a lot less work, try a Halupki Stuffed Cabbage Soup Recipe like this and see what you think!
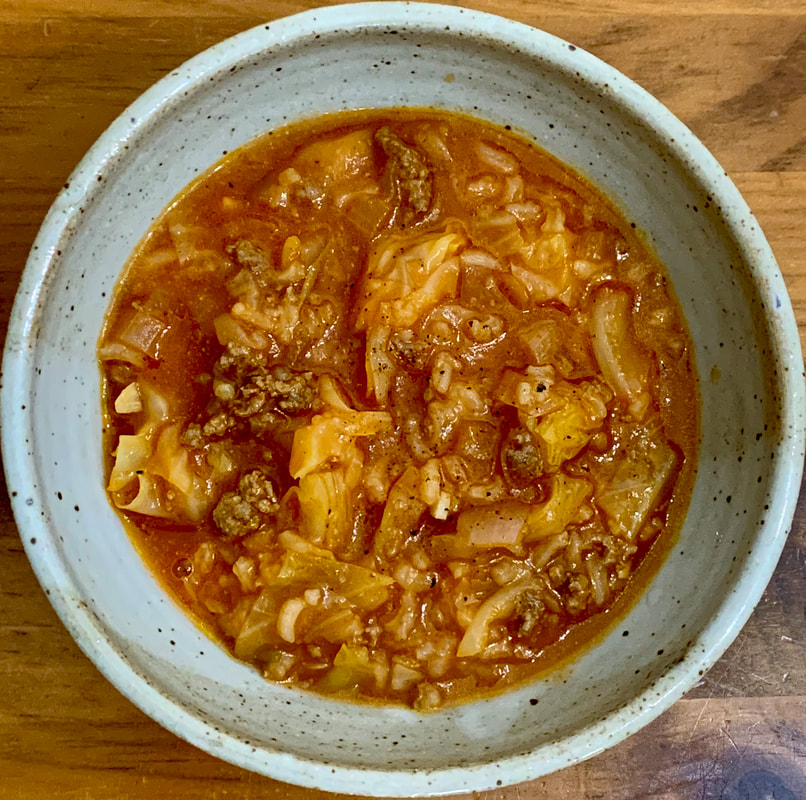
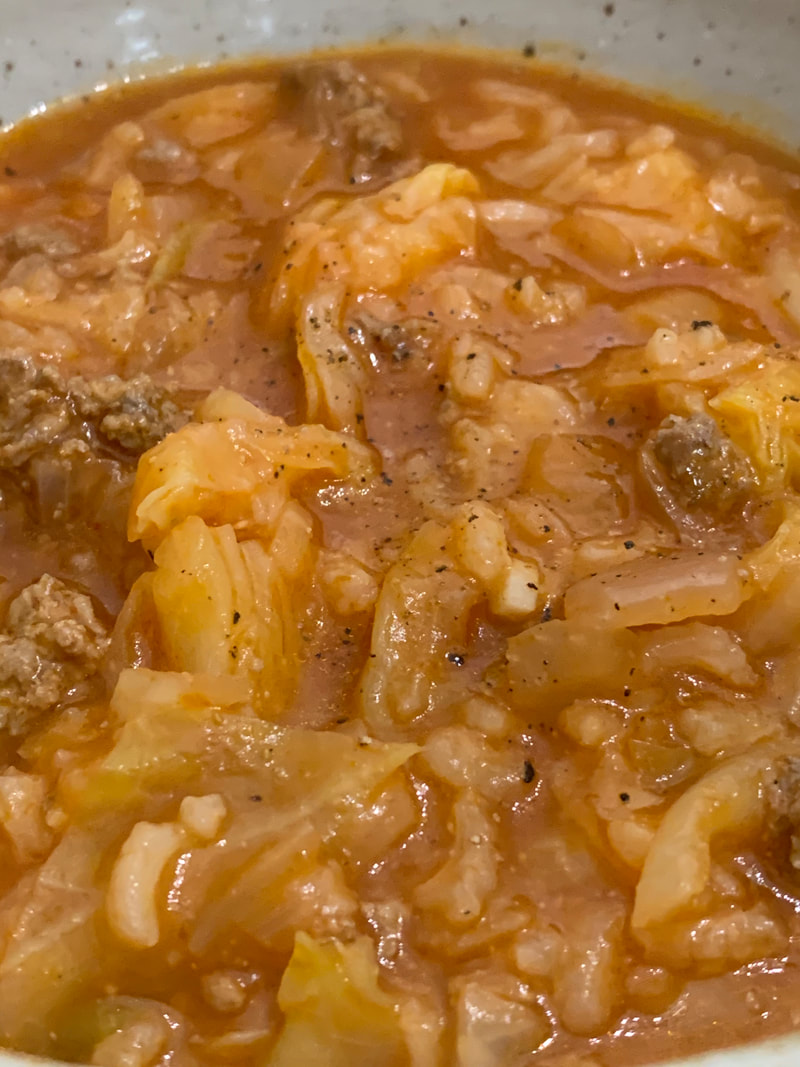
Delicious and Easy Halupki Stuffed Cabbage Soup aka Cabbage Roll Soup
Bowl: Sage Eden Pottery OKC
Halupki Stuffed Cabbage Soup aka Cabbage Roll Soup Ingredients:
How To Make Halupki Stuffed Cabbage Soup aka Cabbage Roll Soup:
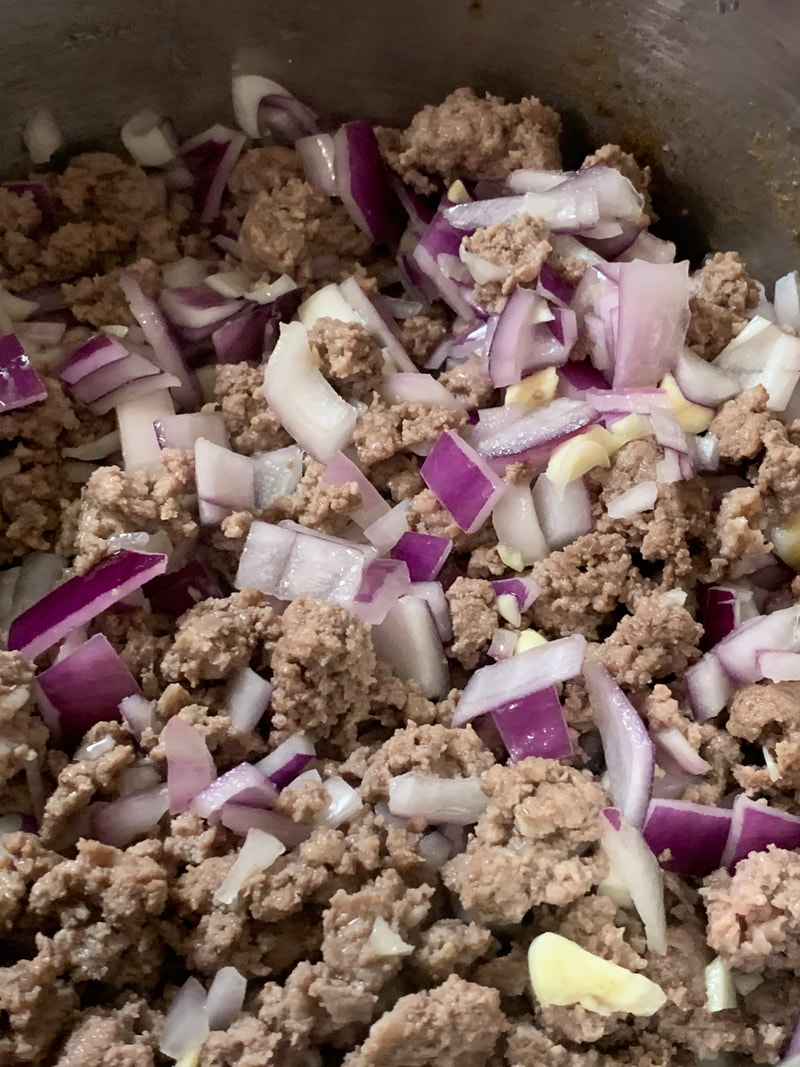
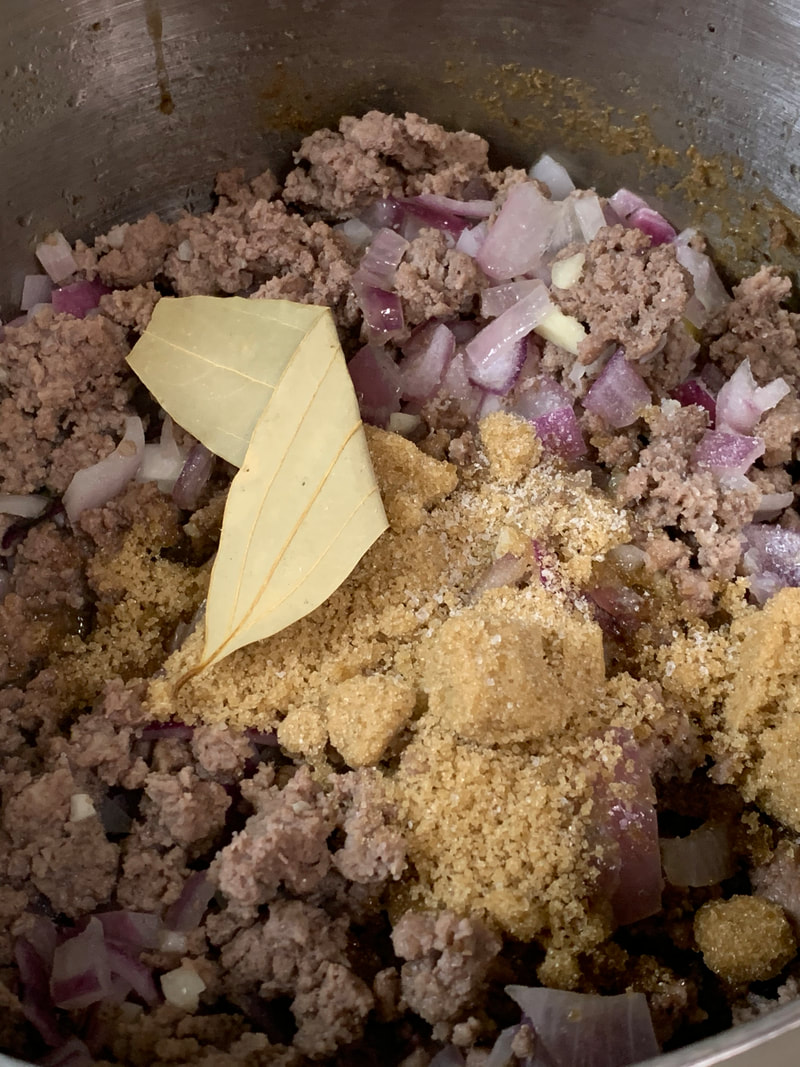
1. Cook ground meat in olive oil for 4-5 minutes, seasoning with salt and pepper.
Add chopped onion and garlic.
How To Make Halupki Stuffed Cabbage Soup aka Cabbage Roll Soup:
2. Add the bay leaf and brown sugar
How To Make Halupki Stuffed Cabbage Soup aka Cabbage Roll Soup:
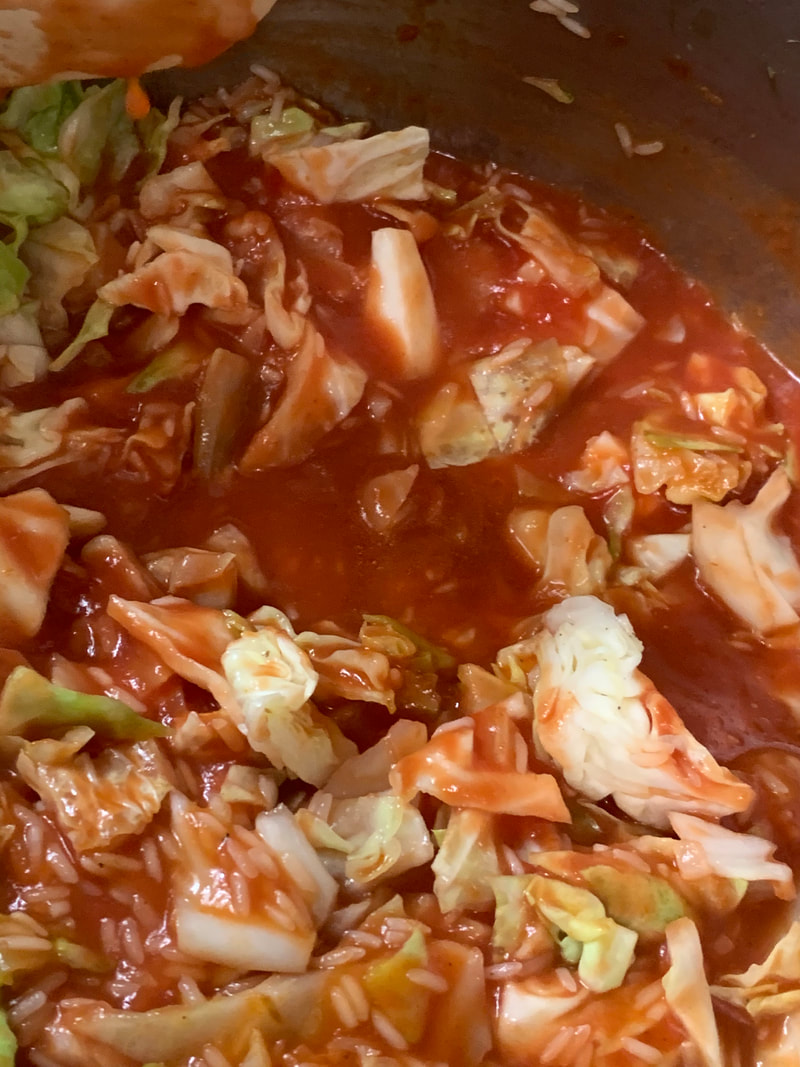
3. Toss everything else in! The cabbage, broth, tomato sauce, rice and carrots. I didn't have any carrots, so I didn't add them. No big deal imo. Simmer for at least 25 minutes until the rice and cabbage are tender. Adjust seasoning (salt / pepper) as needed!
Dinner At The Zoo Halupki Stuffed Cabbage Soup Recipe Review
This was a great and easy recipe to make and there's nothing like soup to comfort you on a chilly day. But honestly, I would eat soup for any meal, any day of the year. :-)
Adjustments: Next time I think I would sauté the cabbage a bit before adding the broth and tomato sauce. For the full recipe, visit the Dinner At The Zoo Cabbage Roll Soup Recipe here! Thoughts on Halupki? Cabbage Rolls? Stuffed Cabbage? Have a favorite recipe or tip to share? Do you think the soup version is as good as the traditional version? Leave a comment!
Delicious and Easy Halupki Stuffed Cabbage Soup aka Cabbage Roll Soup
Bowl: Sage Eden Pottery OKC
Tried This Recipe?
Pin & Share This Post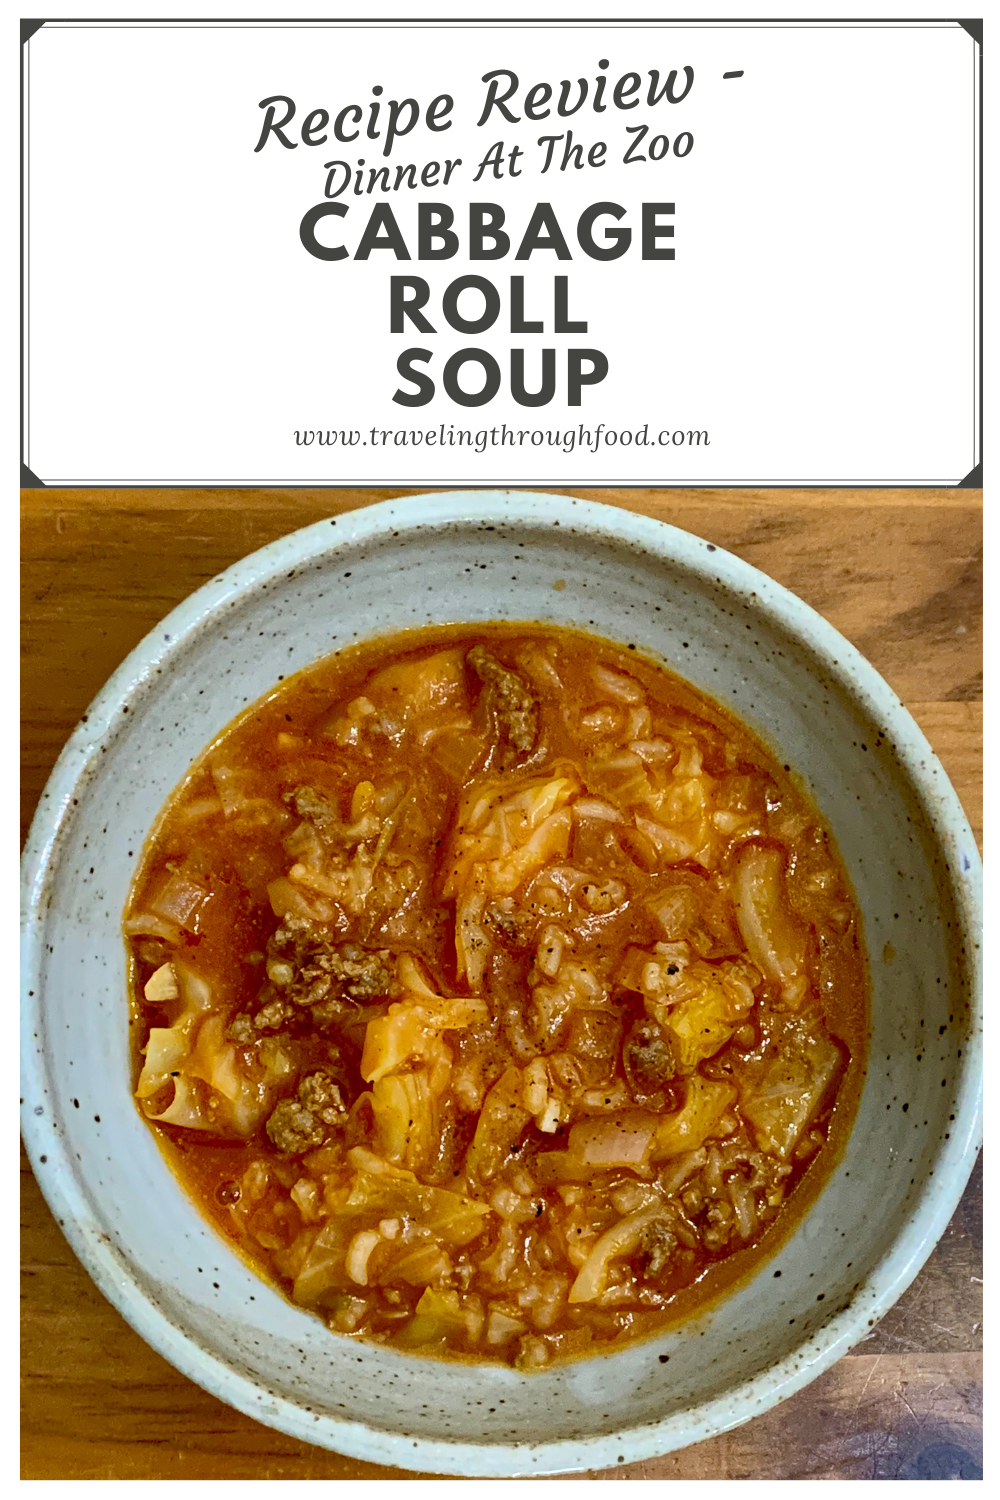
originally post date 11/12/20
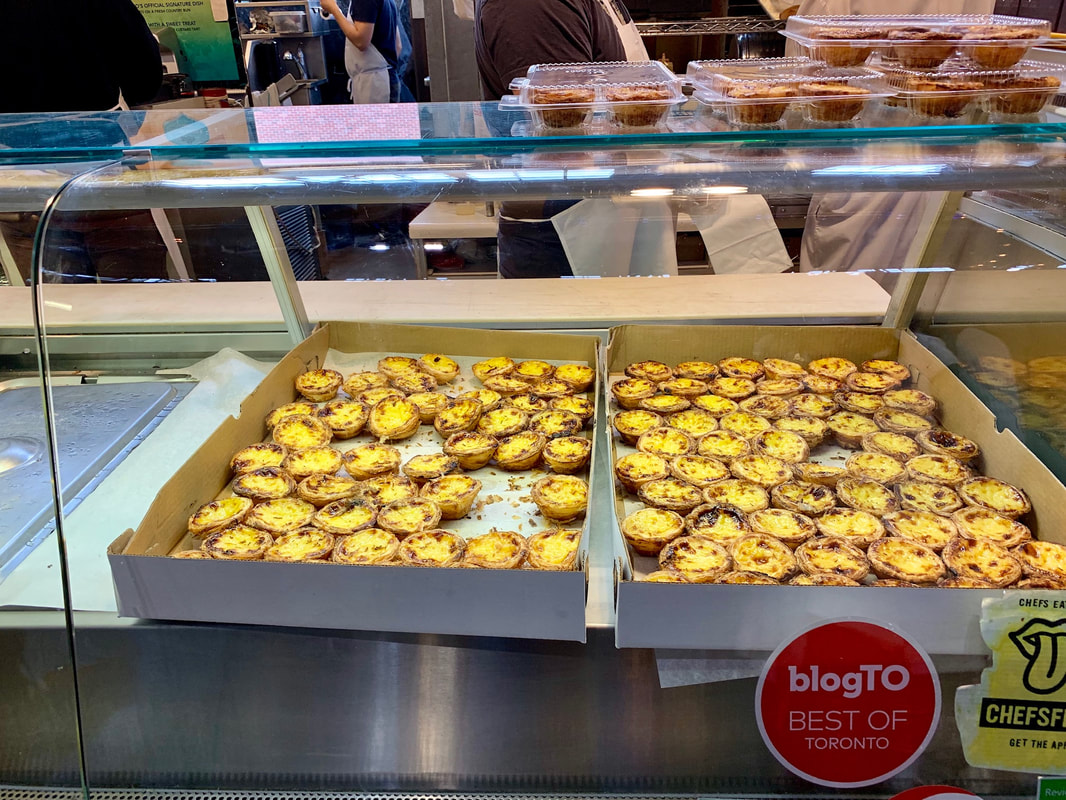
In the Summer of 2018 we had a special opportunity to visit friends and get a taste of a wonderful place - Portugal! No list of "top foods to try in Portugal" is complete without the glorious little Portuguese custard tart known as Pastel de Nata!
Our first Pastéis de Nata came from Portela Cafe on Rua da Graça in Lisbon. It was a short stroll from our airbnb and we wanted to get our Portugal trip off to a good start with cafe and pastries for breakfast! ;)
From there we enjoyed Pastéis de Nata just about everywhere we went - Lisbon, up the Silver Coast, Porto, and even the airport lounge on the way home.
So what exactly is a Pastel de Nata?
Pastéis de Nata are a delightful little treat consisting of a flaky crust filled with custard. Most people enjoy their Pastéis de Nata with a sprinkle of powdered sugar and cinnamon on top! Some people prefer just cinnamon or just powdered sugar while others enjoy a Pastel de Nata as is!
How do you eat a Pastel de Nata?
Easy. Just take a bite for optimal enjoyment of the creamy custard together with the crispy crust. There is a segment of society, however, who prefer to use a spoon to eat the custard first and then eat the crust. Posh. ;p No matter how you eat your pastel de nata, it's going to be delicious!
History of Pastel de Nata
The popular origin story of the Pastel de Nata goes back over 300 years ago to Jerónimos Monastery in Belém. The nuns and monks used egg whites to starch the clothing, leaving a huge amount of egg yolks needing used up. To prevent waste and simultaneously generate income to support the monetary, the custard tart was born. The recipe was later sold when the monastery closed in 1833. Today you can try the original Portuguese custard tart at Pastéis de Belém.
Wait. I'm Confused. Is it Pastéis de Nata, Pastel de Nata or Pastéis de Belém?
Pastel de Nata - one Portuguese custard tart
Pastéis de Nata - multiple Portuguese custard tarts Pastéis de Belém - Portuguese custard tarts made from the original secret recipe. The original Pastéis de Belém is only available at Fábrica Pastéis de Belém It makes me think of how some people say Kleenex any time they mean "tissue" whether it's Kleenex brand or not. Technically, a Kleenex is a tissue, but all tissues are not Kleenex. So all Pastéis de Belém are Pastéis de Nata (albiet branded with the perception of superiority), but not all Pastéis de Nata are Pastéis de Belém. Hope I got that right and hope it makes more sense now! 
One last Pastel de Nata in Porto, Portugal
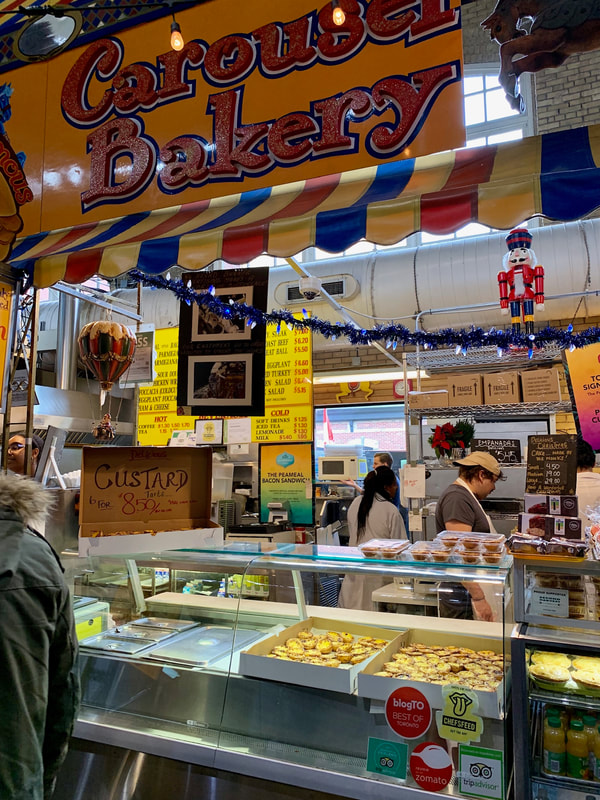
Flash Forward to December 2018 and we were already in withdrawal! On a weekend trip to Toronto we looked up Carousel Bakery in St. Lawrence Market so we could relieve the custard tart experience
Flash Forward to summer 2019 when family brought back some Pastéis de Nata after attending the Love Never Fails International Convention in Lisbon! And later when we sought out Azores Cafe in Pittsburgh so we could have some more Nata.
Basically, it was high time we tried to make Pastéis de Nata at home...
A Pastel de Nata has two main elements to master:
Which begs the question.... Can you make Pastéis De Nata with frozen puff pastry?
How To Make Pastéis de Nata Custard Step-by-step
I followed LeitesCulinaria's recipe found here
How long will Pastéis de Nata uncooked custard mixture last?
Uncooked custard mixture can last in the refrigerator for up to 3 days according to LeitesCulinaria.
At what temperature does milk scald? Why do you scald milk
Milk scalds once it is heated above 180F or 83C. Scalding milk can kill bacteria and enzymes that may interfere with thickening in recipes. (sources here and here)
Tips for using Frozen Puff Pastry to Make Pastéis de Nata
You will want to take the pastry out of the freezer well in advance.
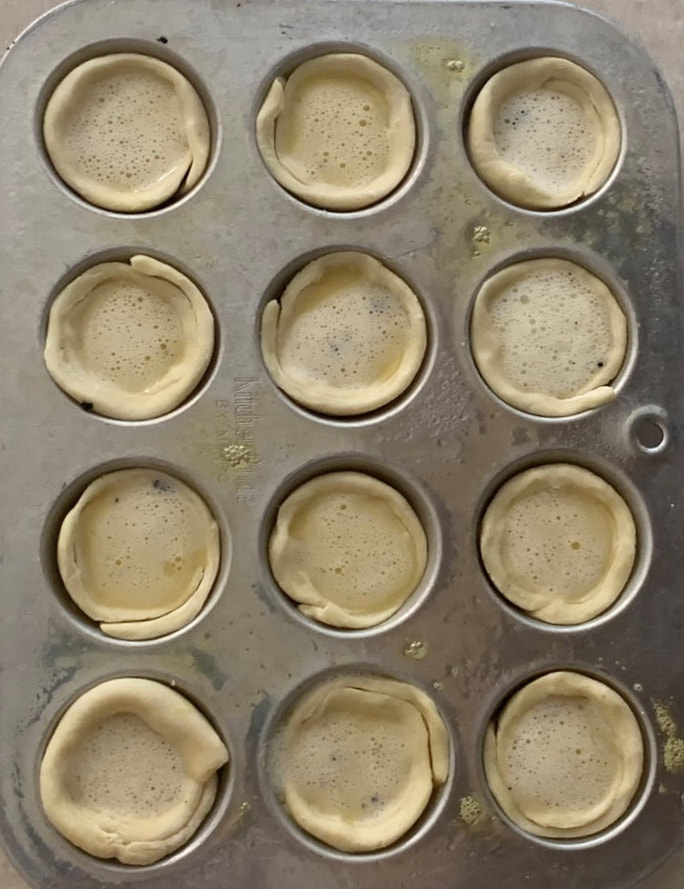
How long does it take for frozen puff pastry to defrost/thaw from frozen? In general, thaw at room temperature for 2 hours or overnight in the refrigerator. It's important to let the pastry thaw or else you will break it when you try unroll it from the package. Once the pastry is thawed, you are going to lay it flat on your work space (I used this large cutting board) and then roll it tightly into a log. Wrap it in plastic and refrigerate until you are ready to assembly your Portuguese custard tarts! See this CupcakeJemma video below for the technique:
Assembling Pastéis de Nata
The final product was quite adorable and delicious! This one has a very light dusting of powdered sugar and cinnamon on top.
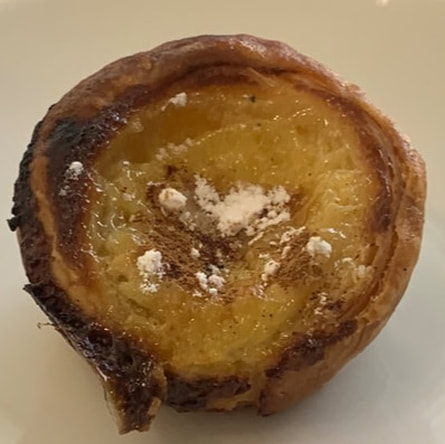
Mini Pastel de Nata made with Frozen Puff Pastry | Traveling Through Food
I also tried to make them in normal sized cupcake tins, but I filled them up too high, causing the custard to run down the side and caramelize way before the pastry was fully cooked. You can tell below that the pastry at the bottom is still soft. I definitely recommend taking seriously the recommendation to fill just 3/4 full!
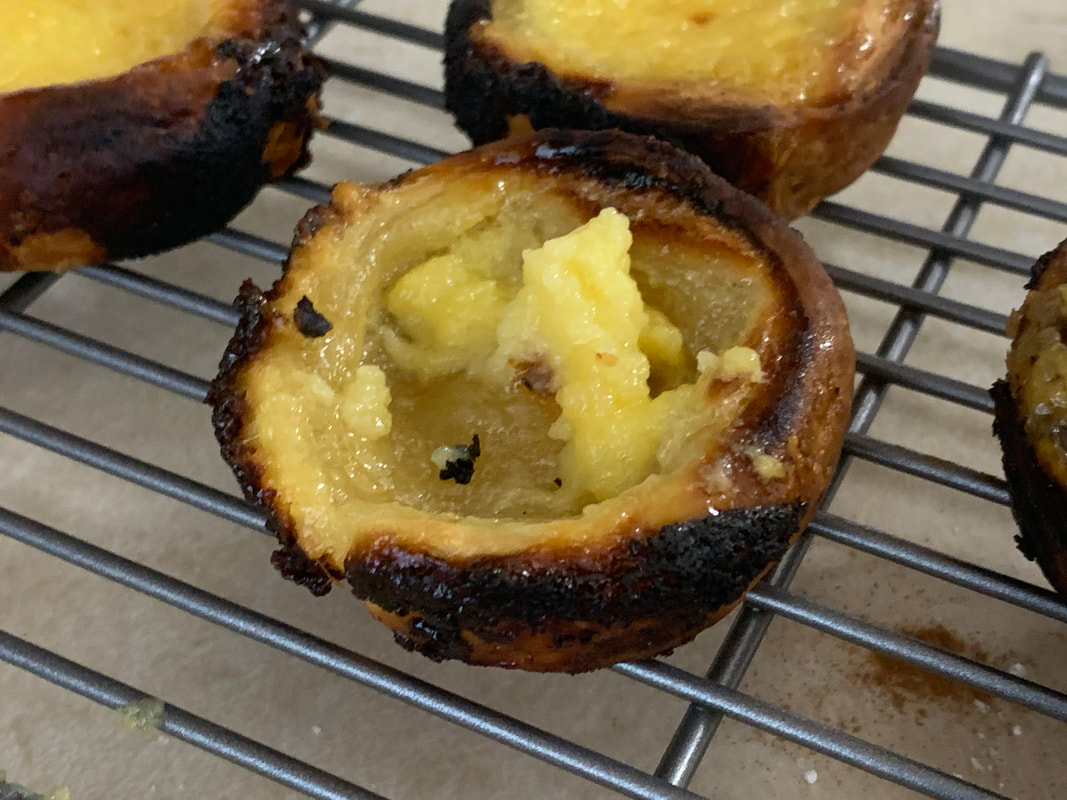
Tip: Fill 3/4 full with custard to prevent overflowing, over caramelization, and undercooked pastry
When do you eat a Pastel de Nata?
According to Eater, "locals eat Pastéis de Nata at breakfast, in the midmorning, after lunch, or in the evening — any time they're craving a snack"
Should you eat Portuguese custard tarts hot or cold?
Is there lemon in Pastéis de Nata?
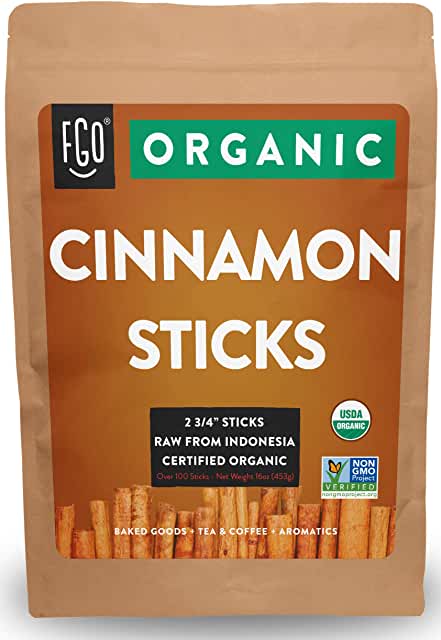
Although this particular recipe did not call for it, many recipes do infuse lemon flavor into the simple syrup by adding lemon rind to the water, sugar, and cinnamon stick! I will definitely try this next time because I love a bit of lemon in a custard.
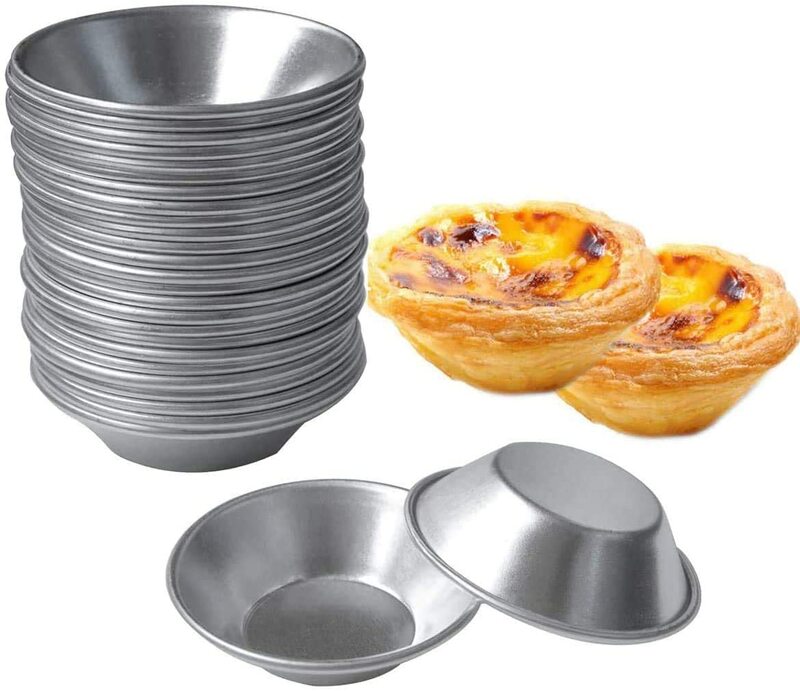
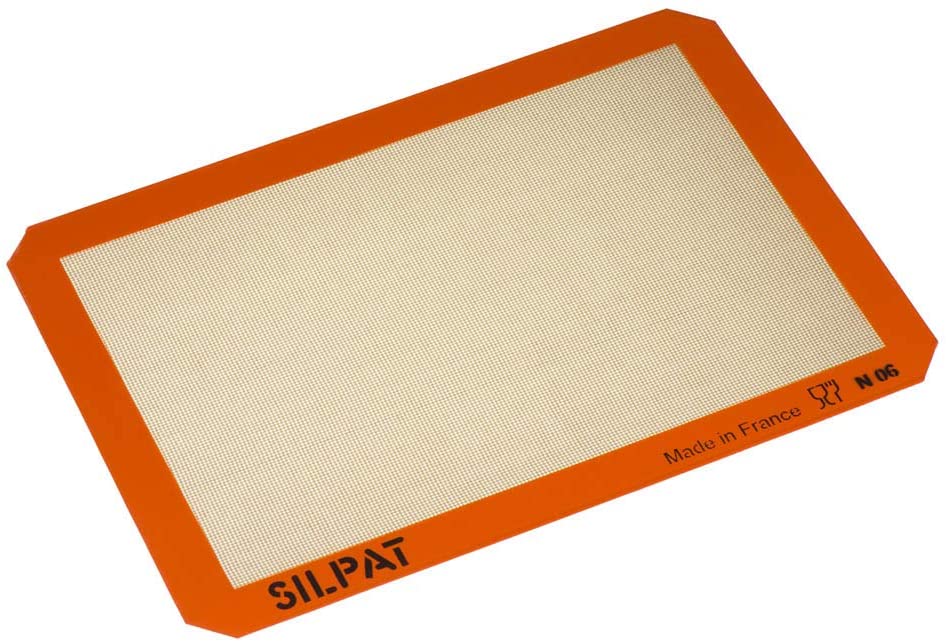
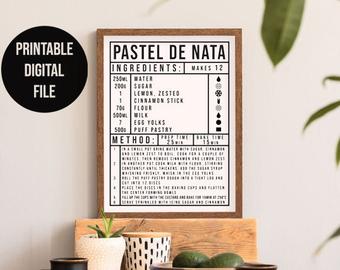
Tools That Make It Easier To Make Pastéis de Nata at Home:
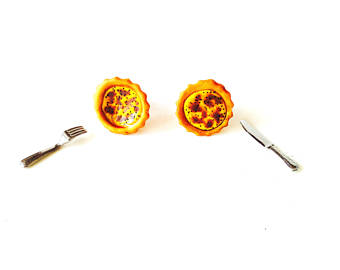
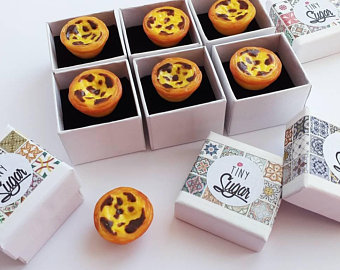
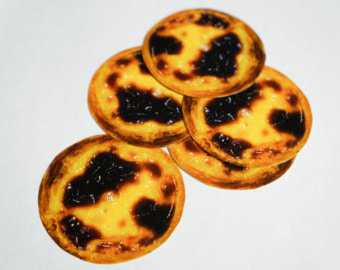
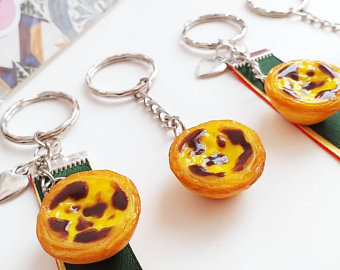
For That Friend Who is Obsessed With Pastéis de Nata:
Pin & Share This Post: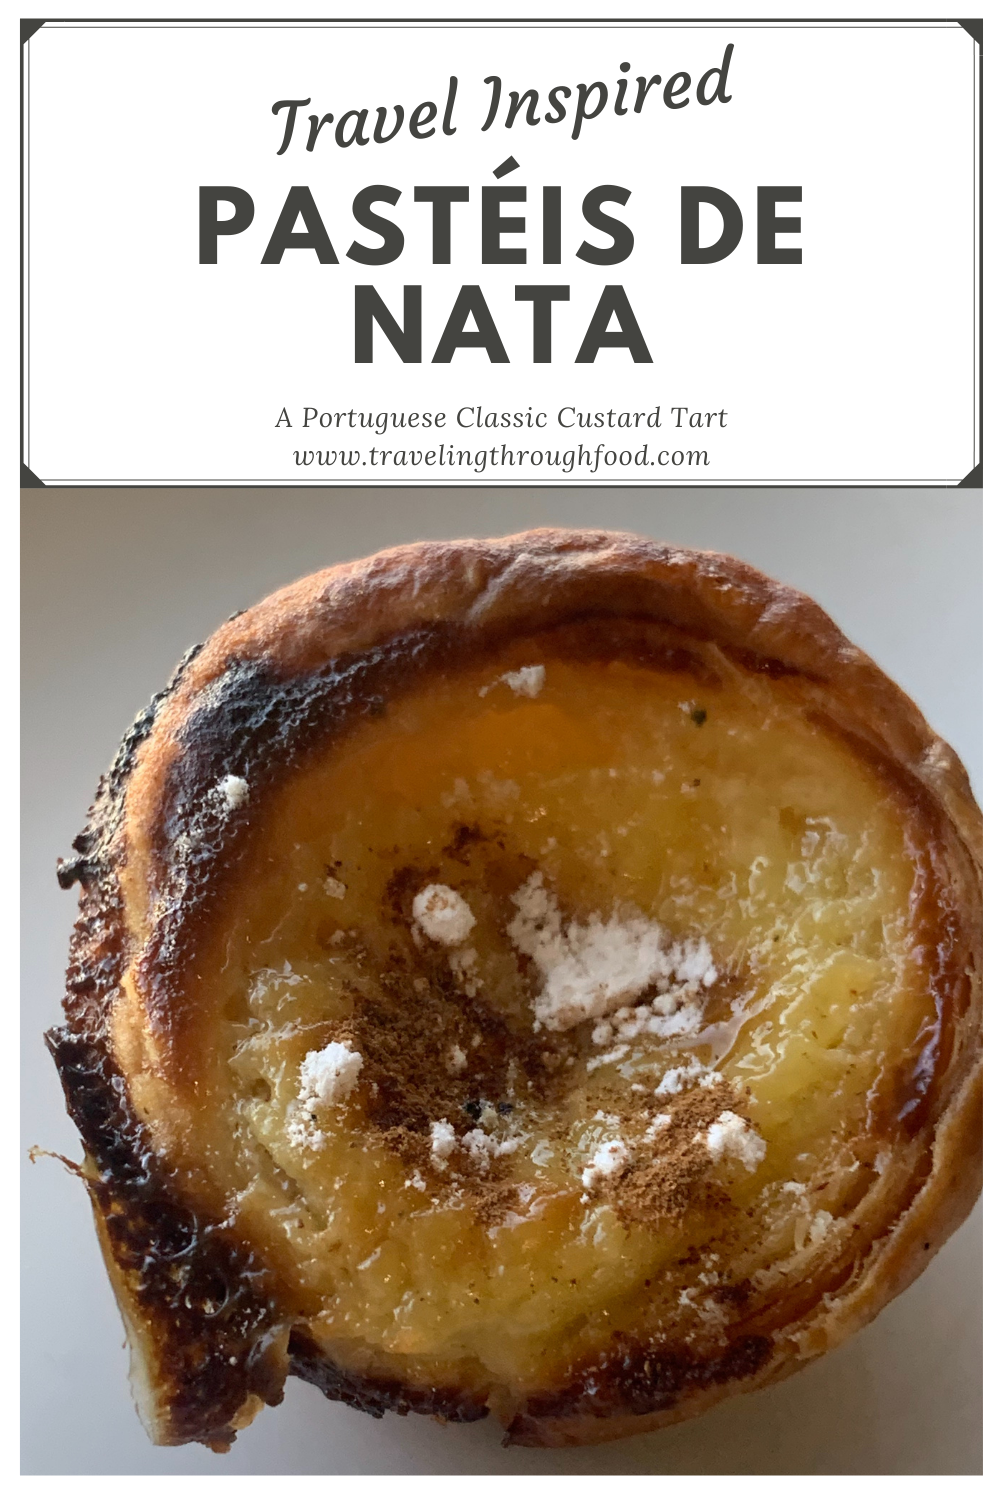
|

Oh, Hey!We're Justin and Marissa Tap for 81% off + 4 months free Surfshark VPN Discount!
Categories
All
Archives
July 2024
|


 RSS Feed